A Behind the Scene Look at the Schultz Project...
Hello Blog Fans! In this blog post we will take a deeper look into what it takes for Roseberry Landscape to construct a custom built outdoor entertainment space! It takes a village to pull off such a big space that includes many different construction aspects. We have many workers that posses the skills capable of laying flagstone flooring to building the wood structures. Read along with us and allow us to show you how we do it!
Consultation and Design:
The initial step to any project big or small is a consultation of the project and the area. Here we will discuss with the clients what their wants and needs are and then we will discuss all of the possibilities. Once we complete the consultation phase we will take extensive measurements of the site and begin the design process. Depending on the size of the project this process can take anywhere from one to two weeks. We will then come back and present the plan to the homeowner on site to discuss layout and our ideas. Assuming the initial plan and estimates are accepted we then will move onto the scheduling and planning phase.
Construction of Wooden Structure:
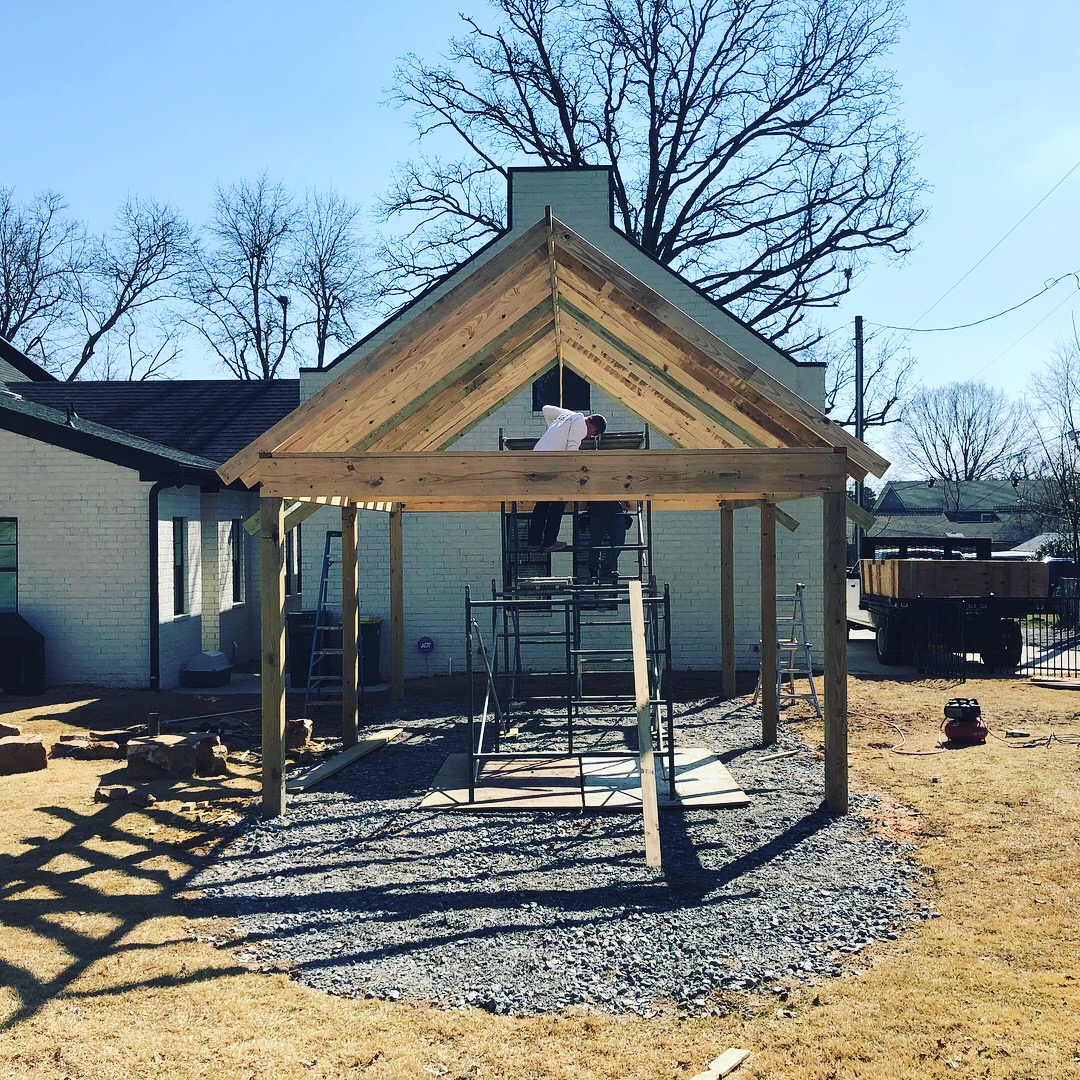
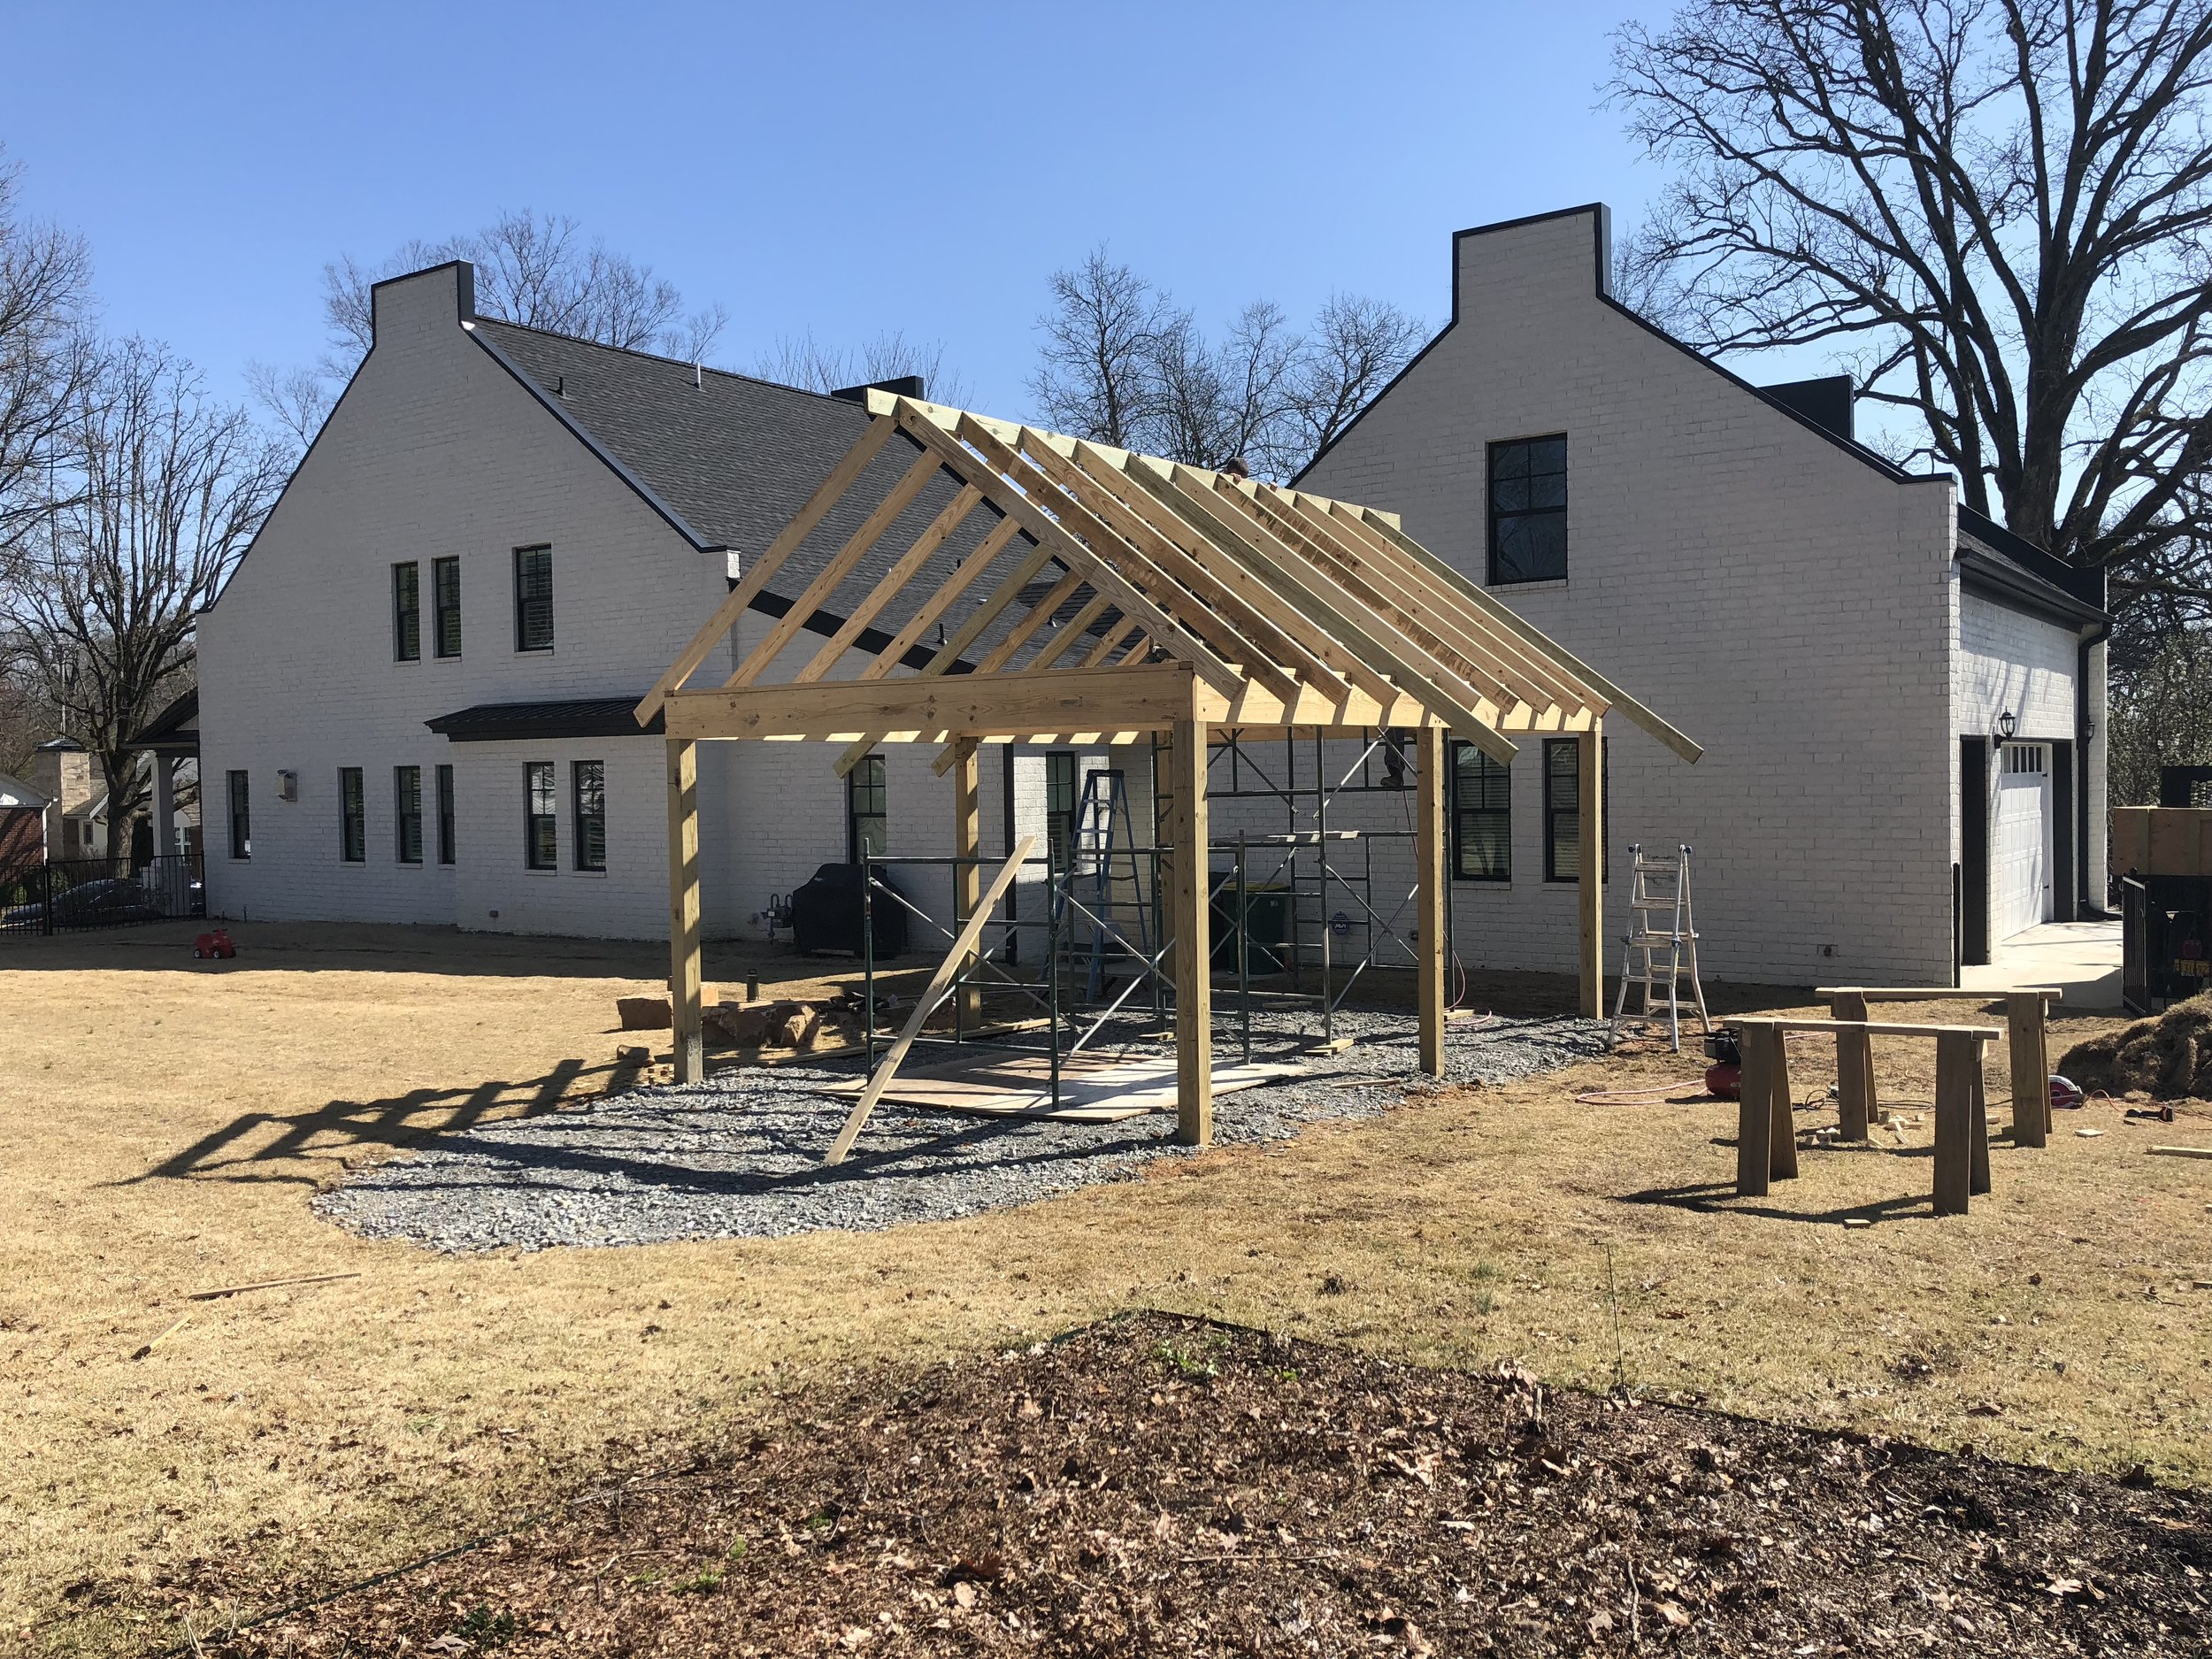
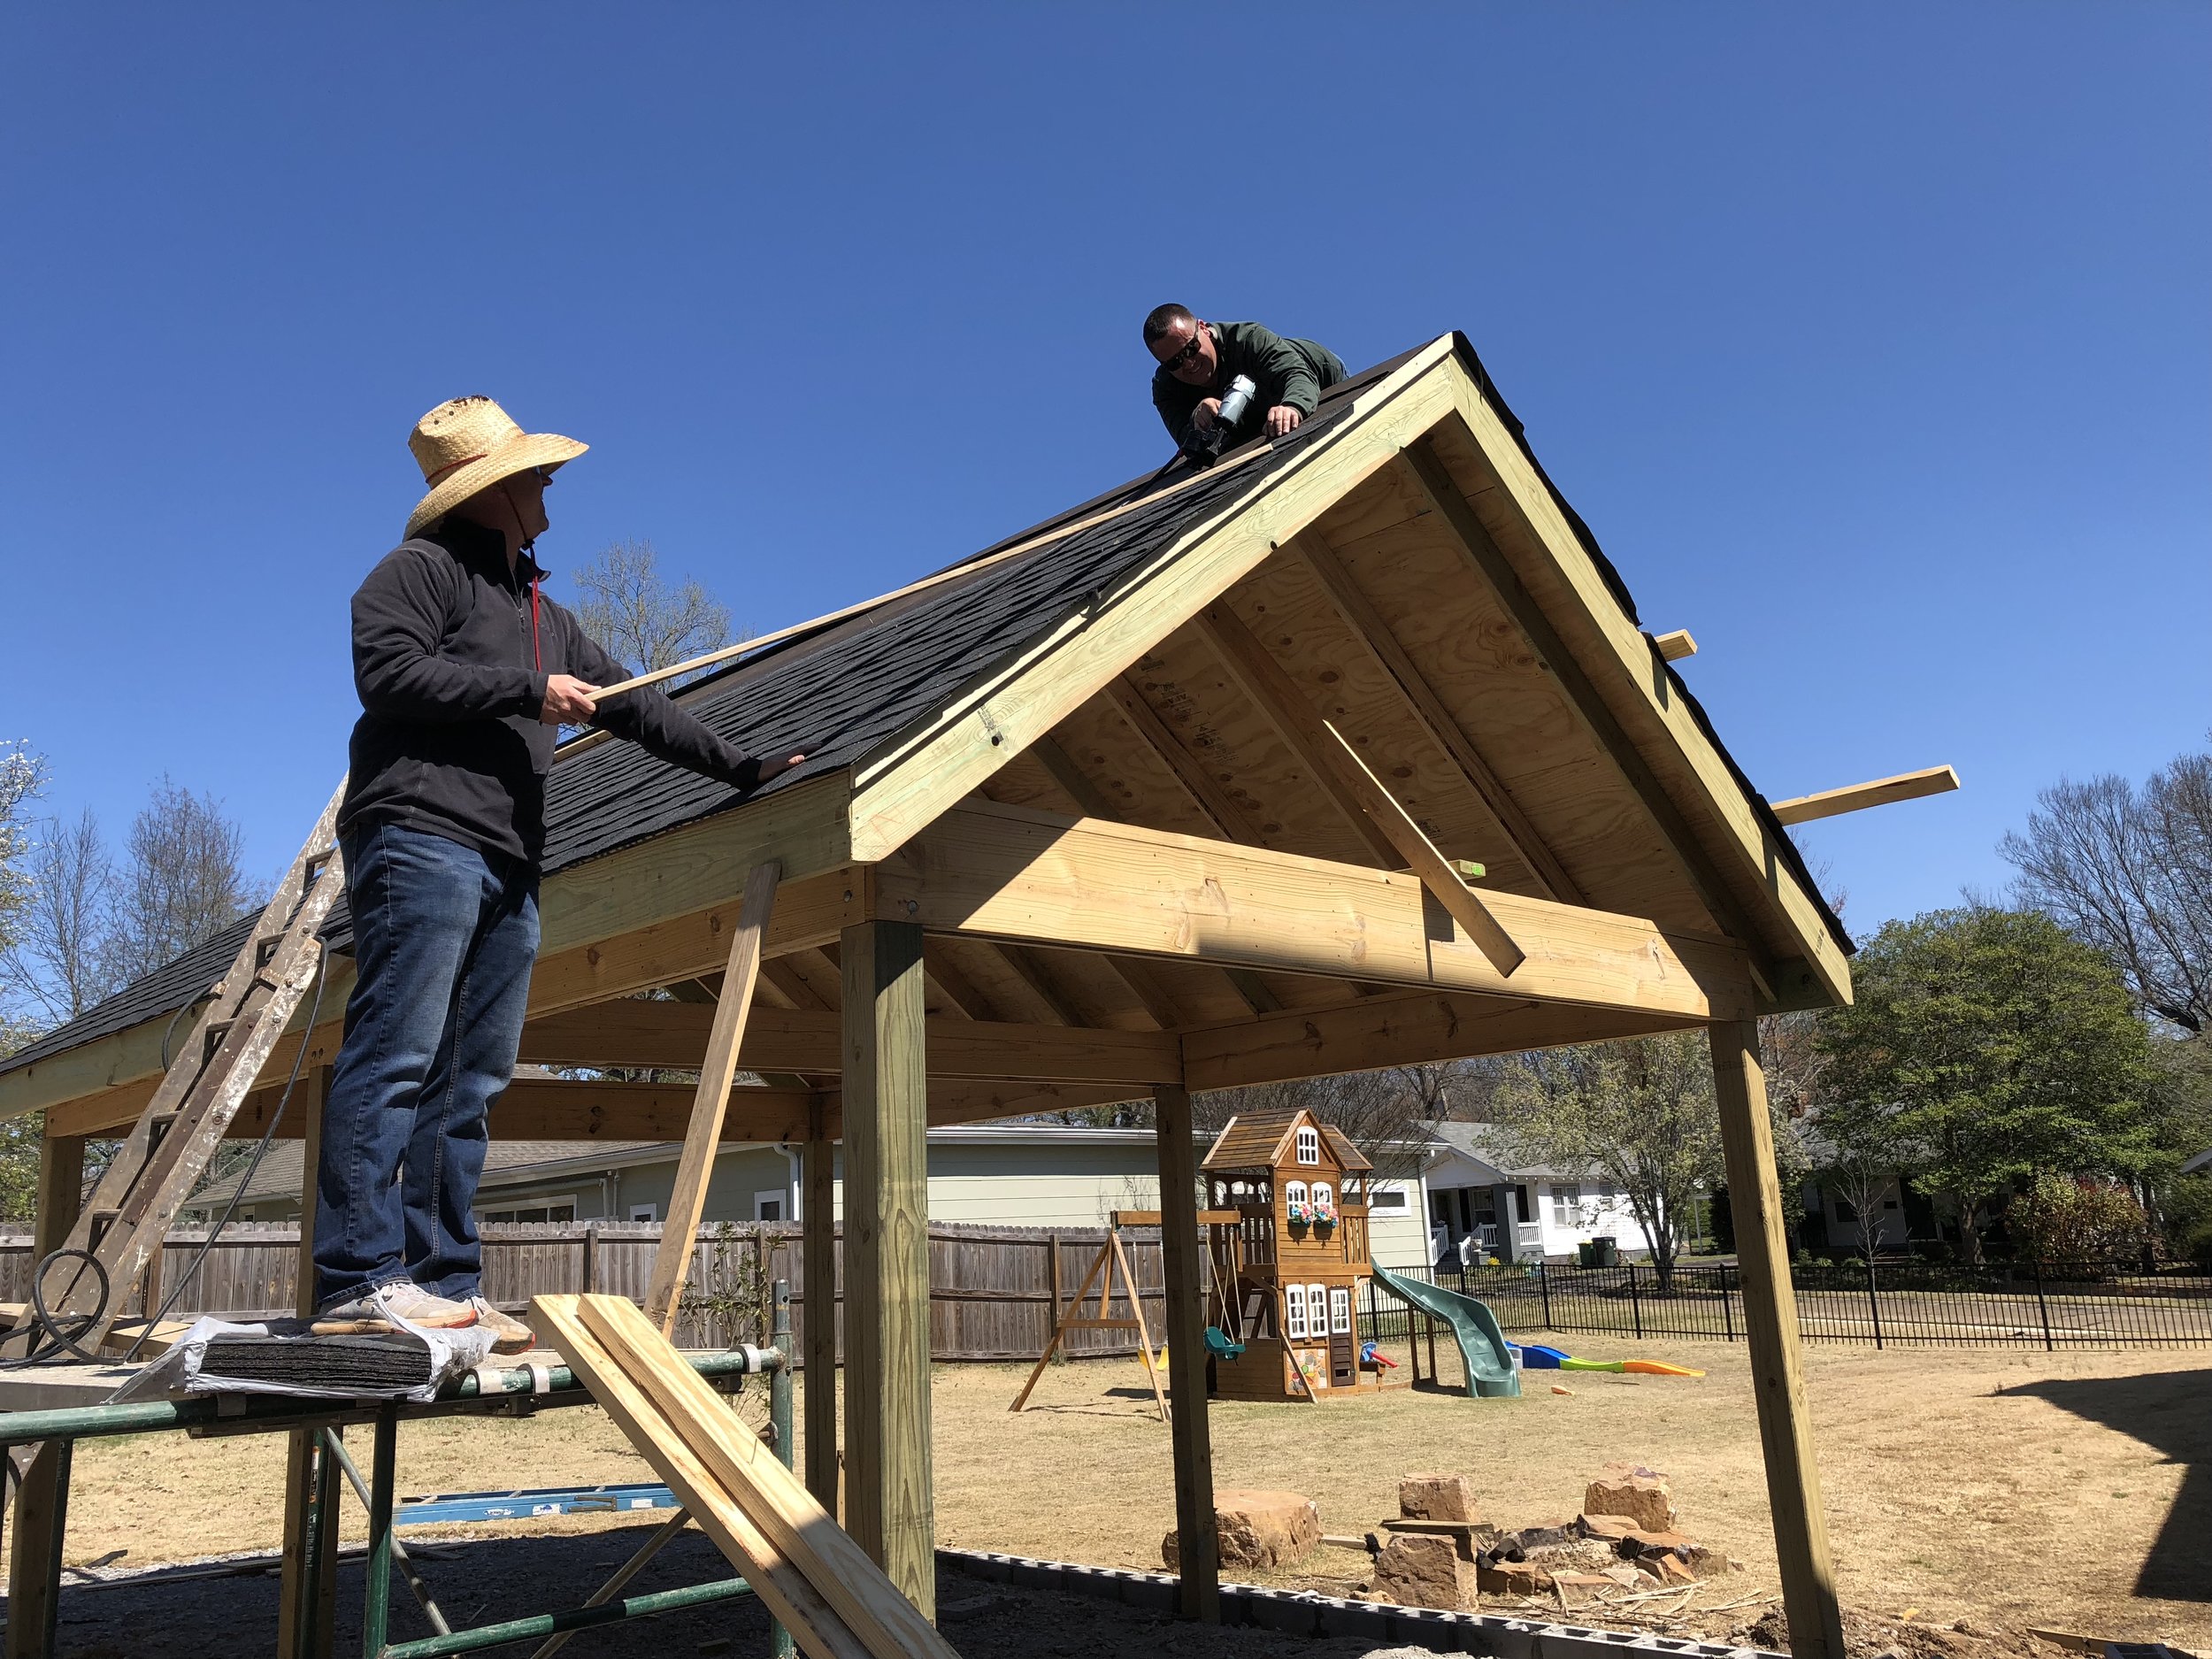
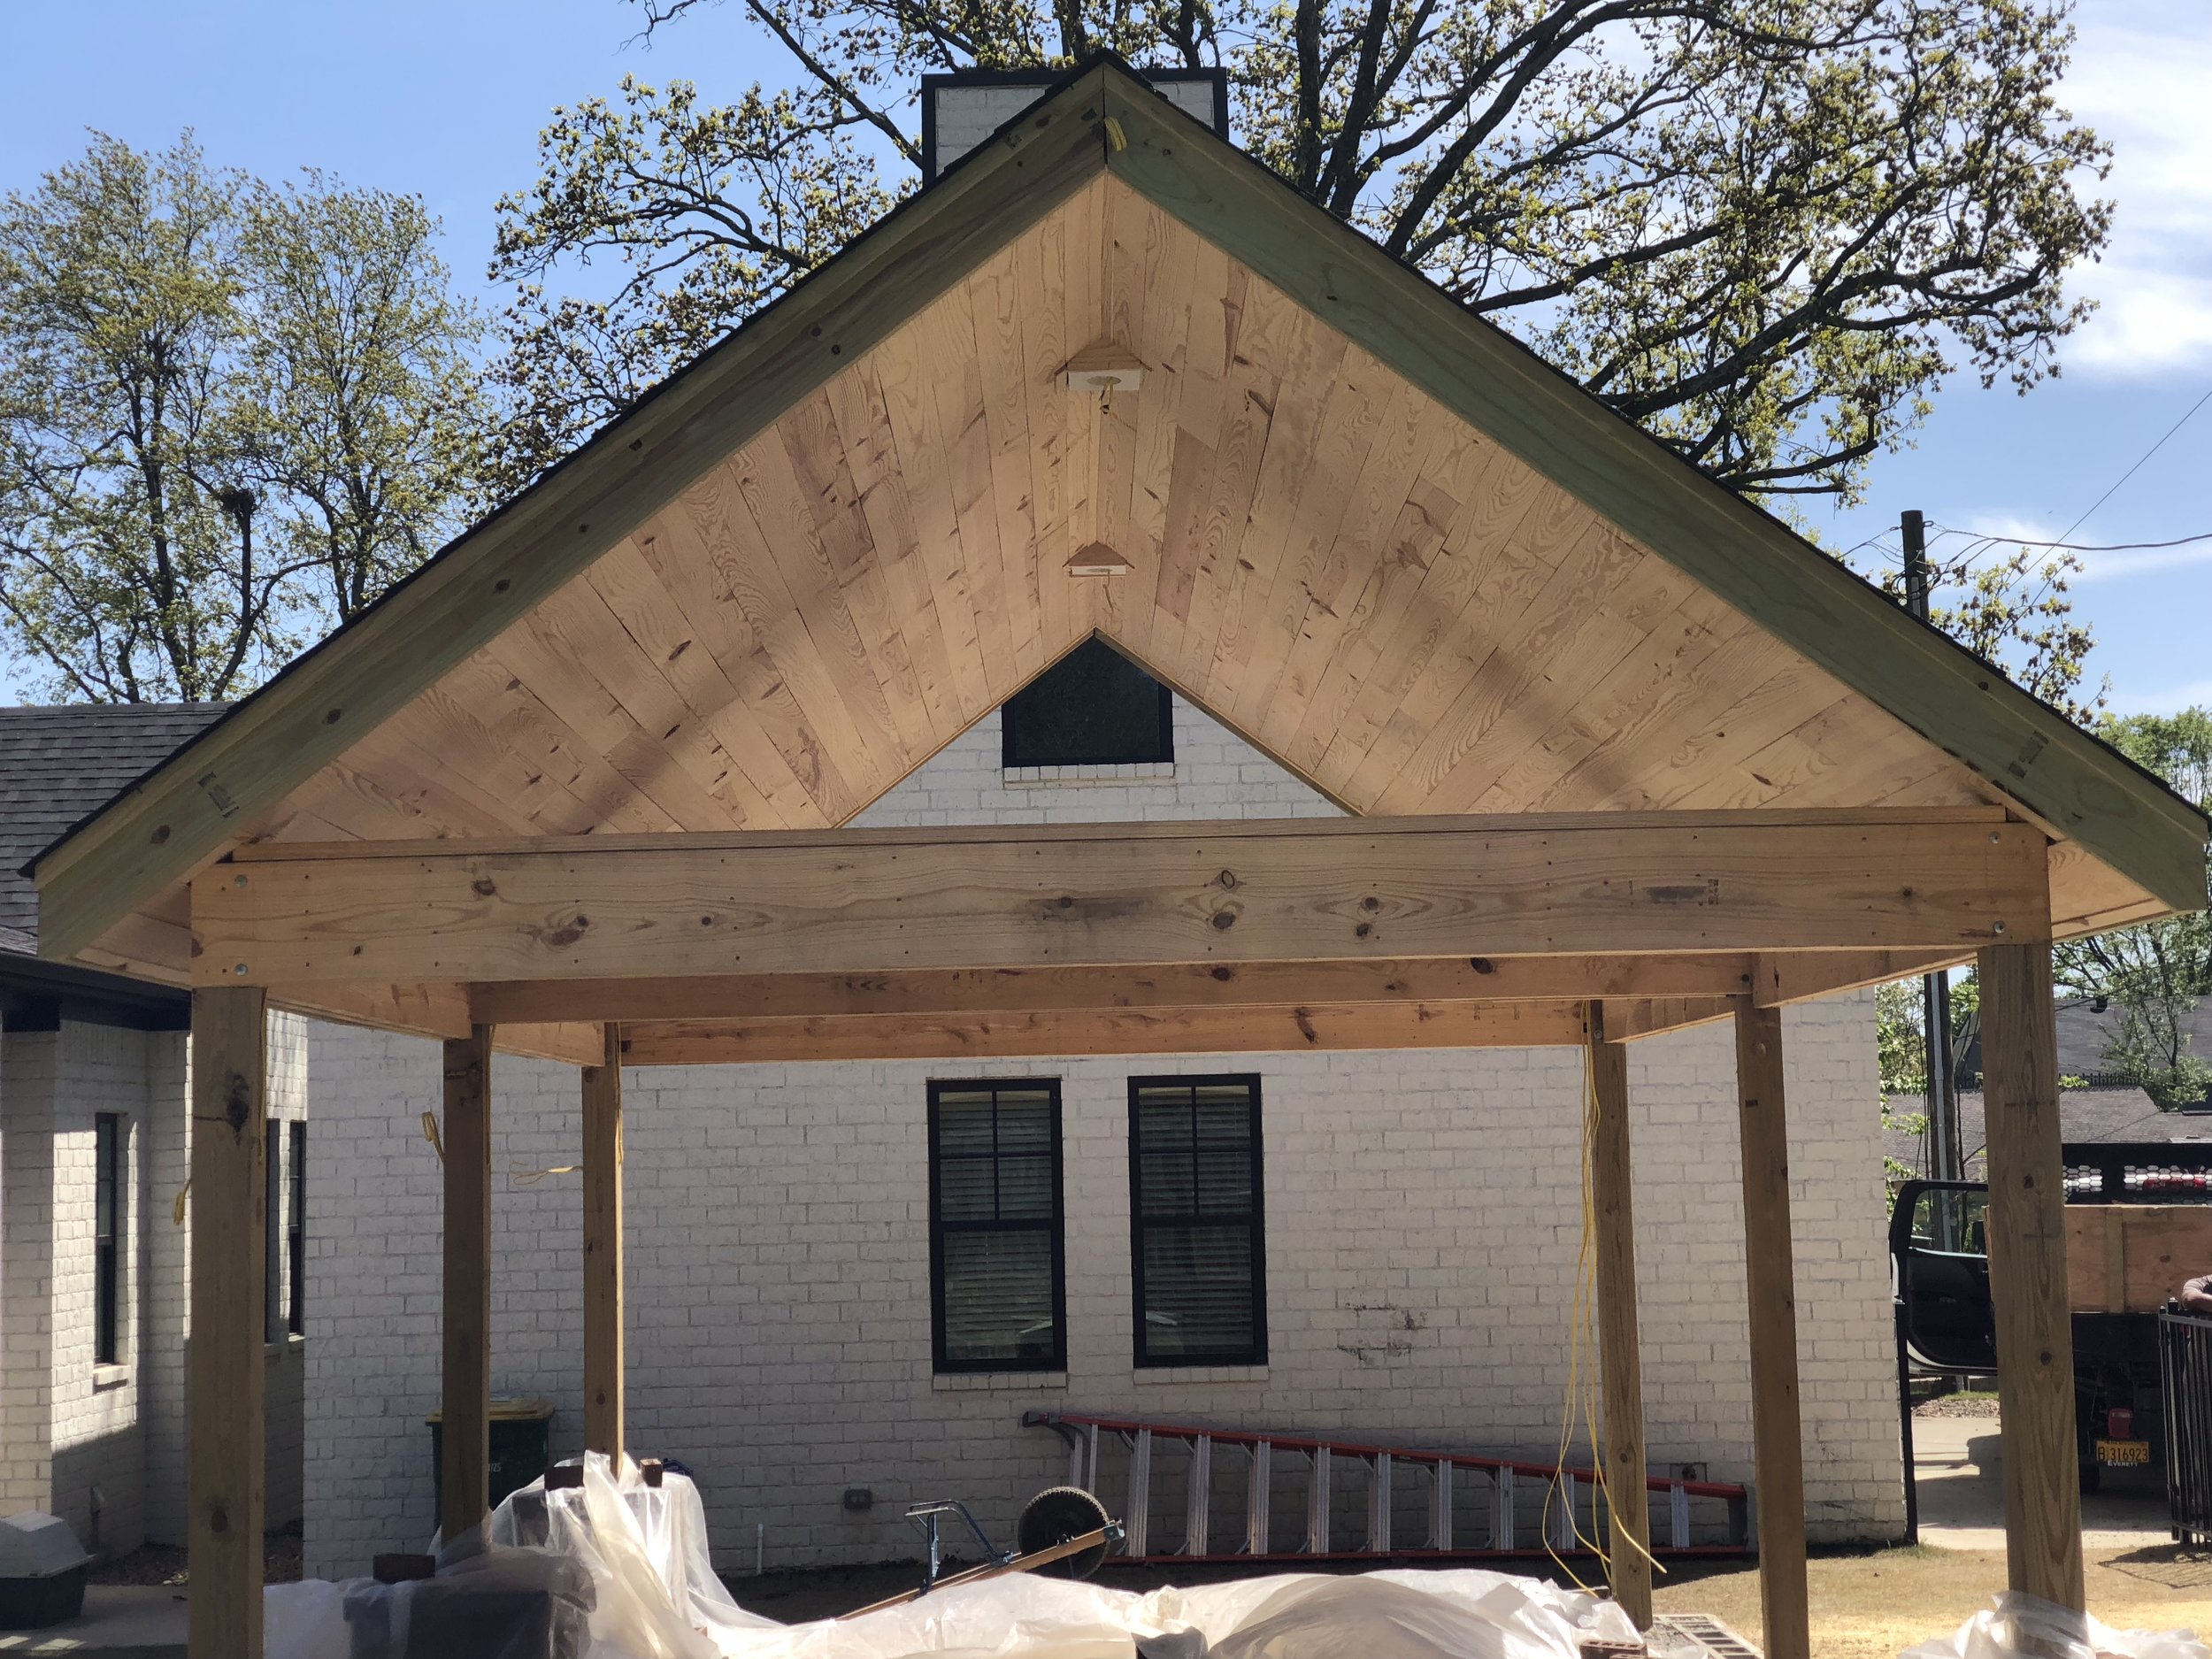
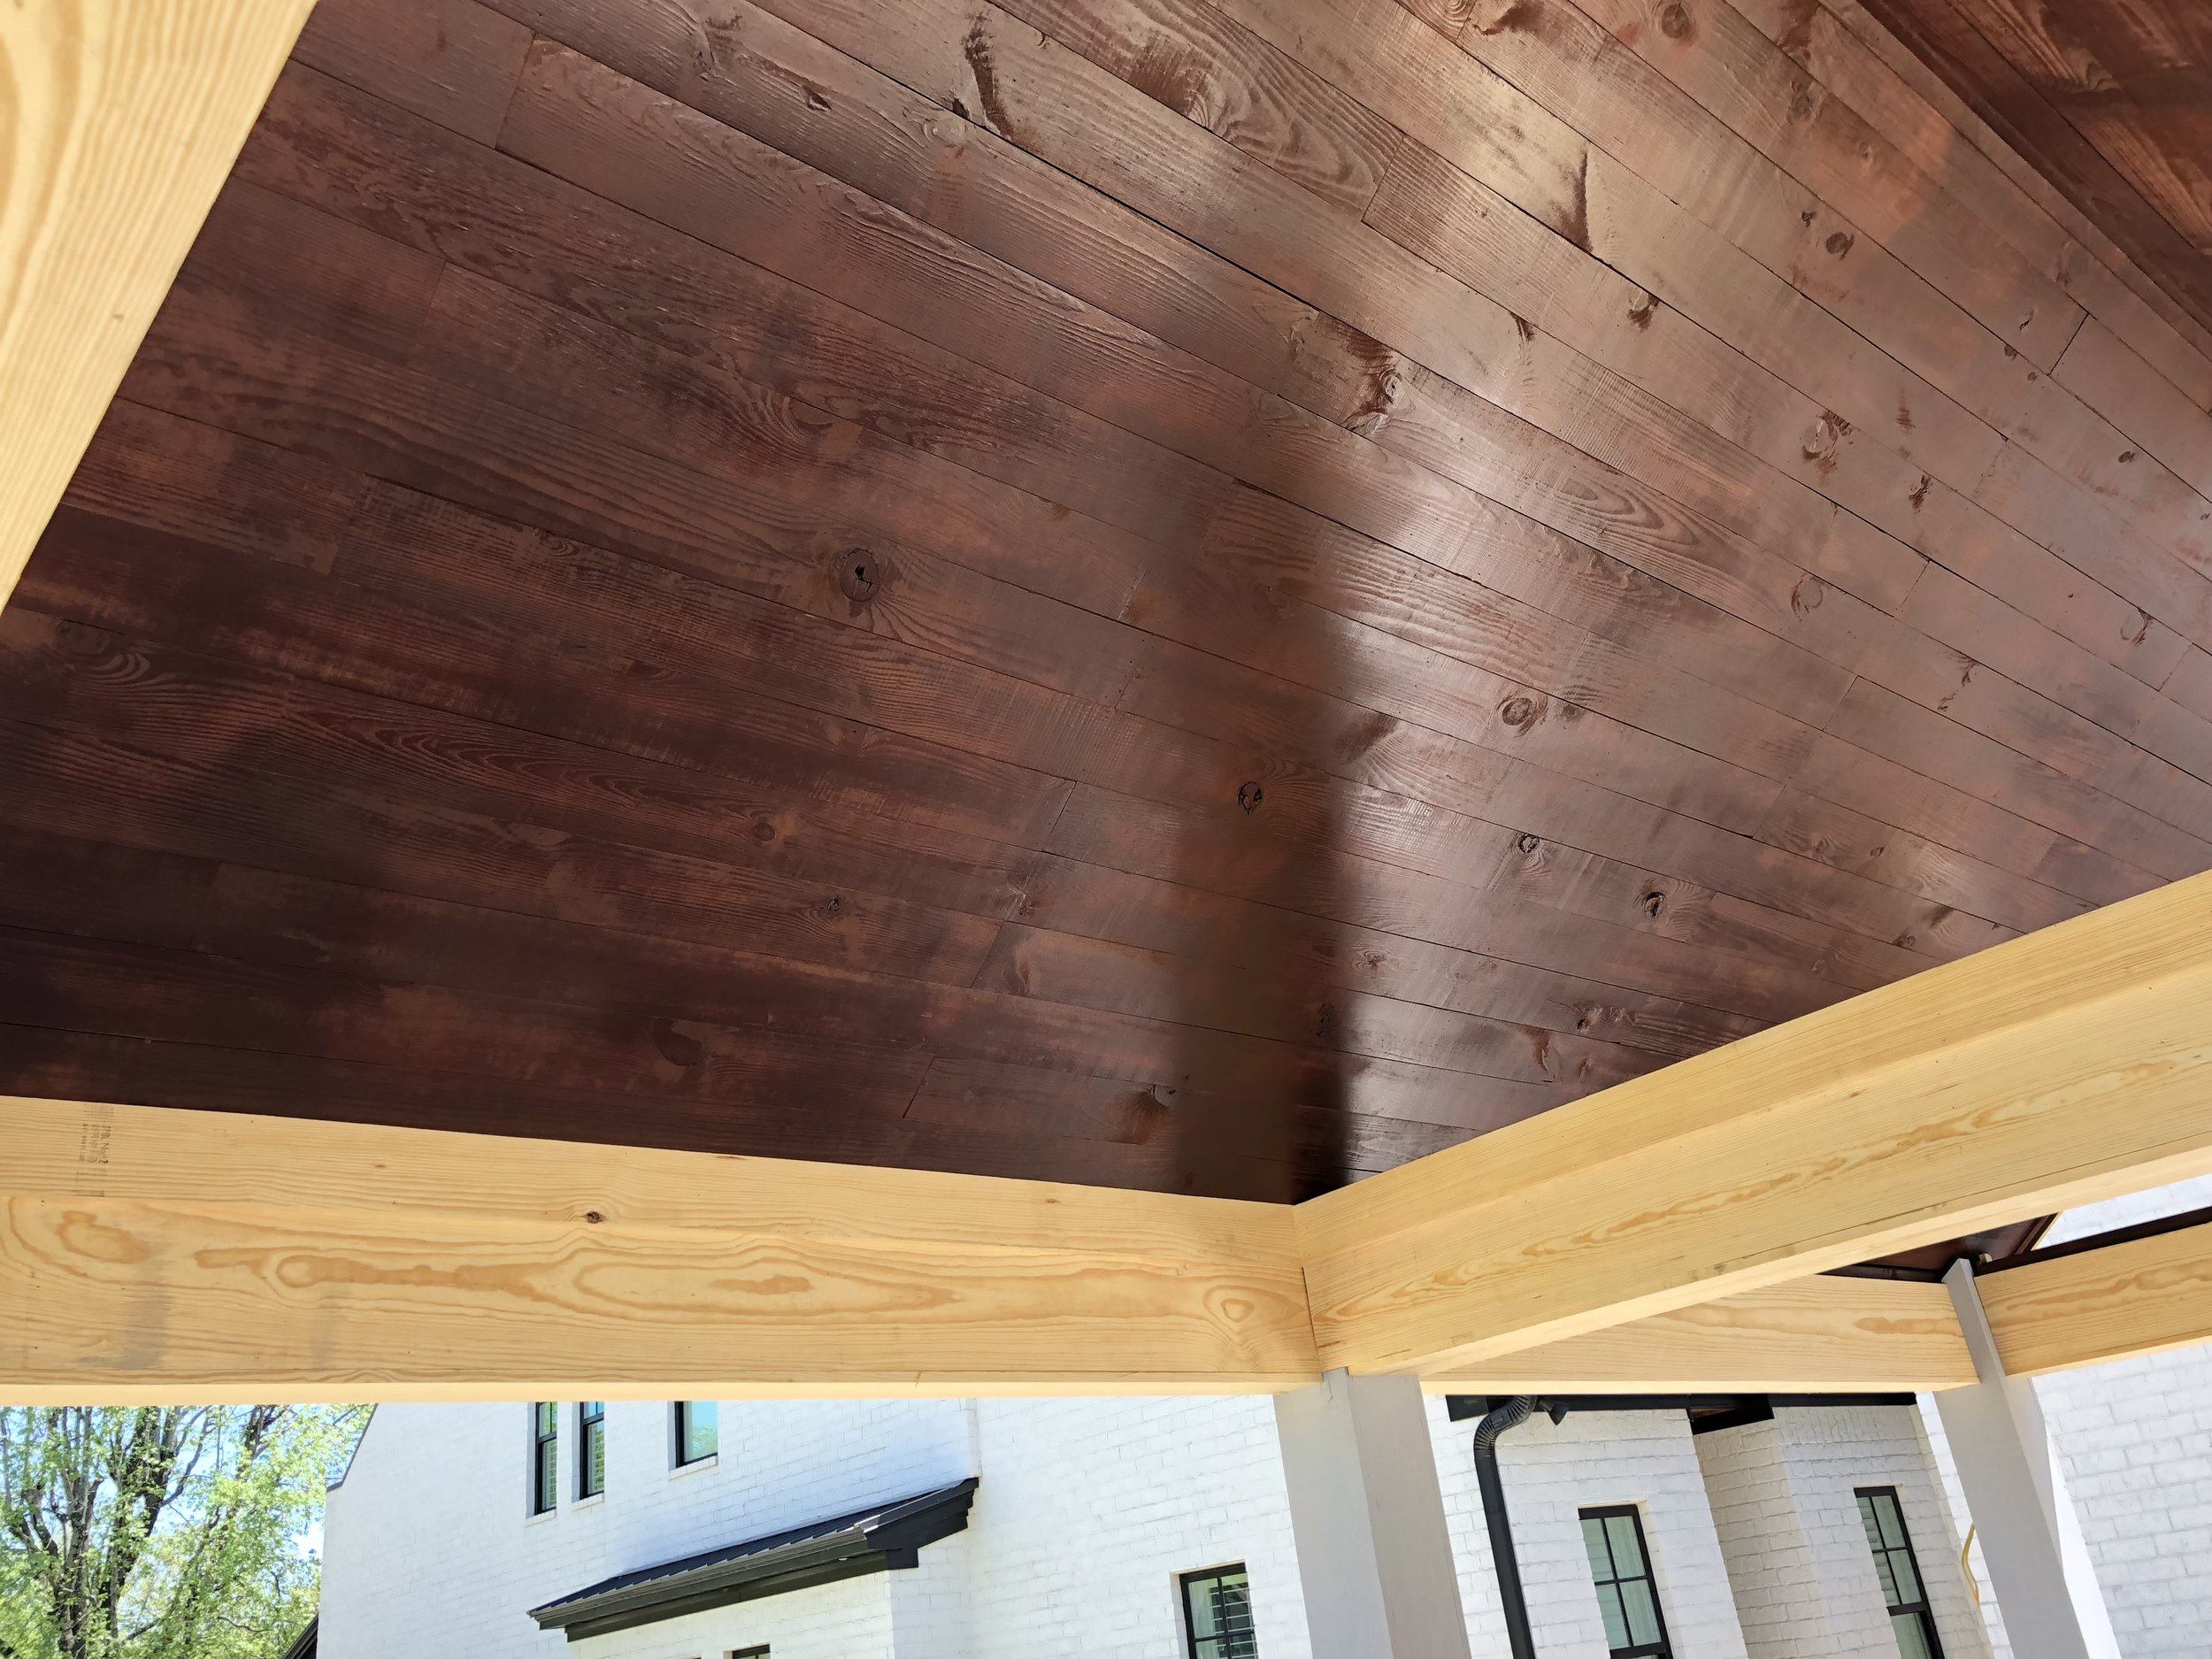
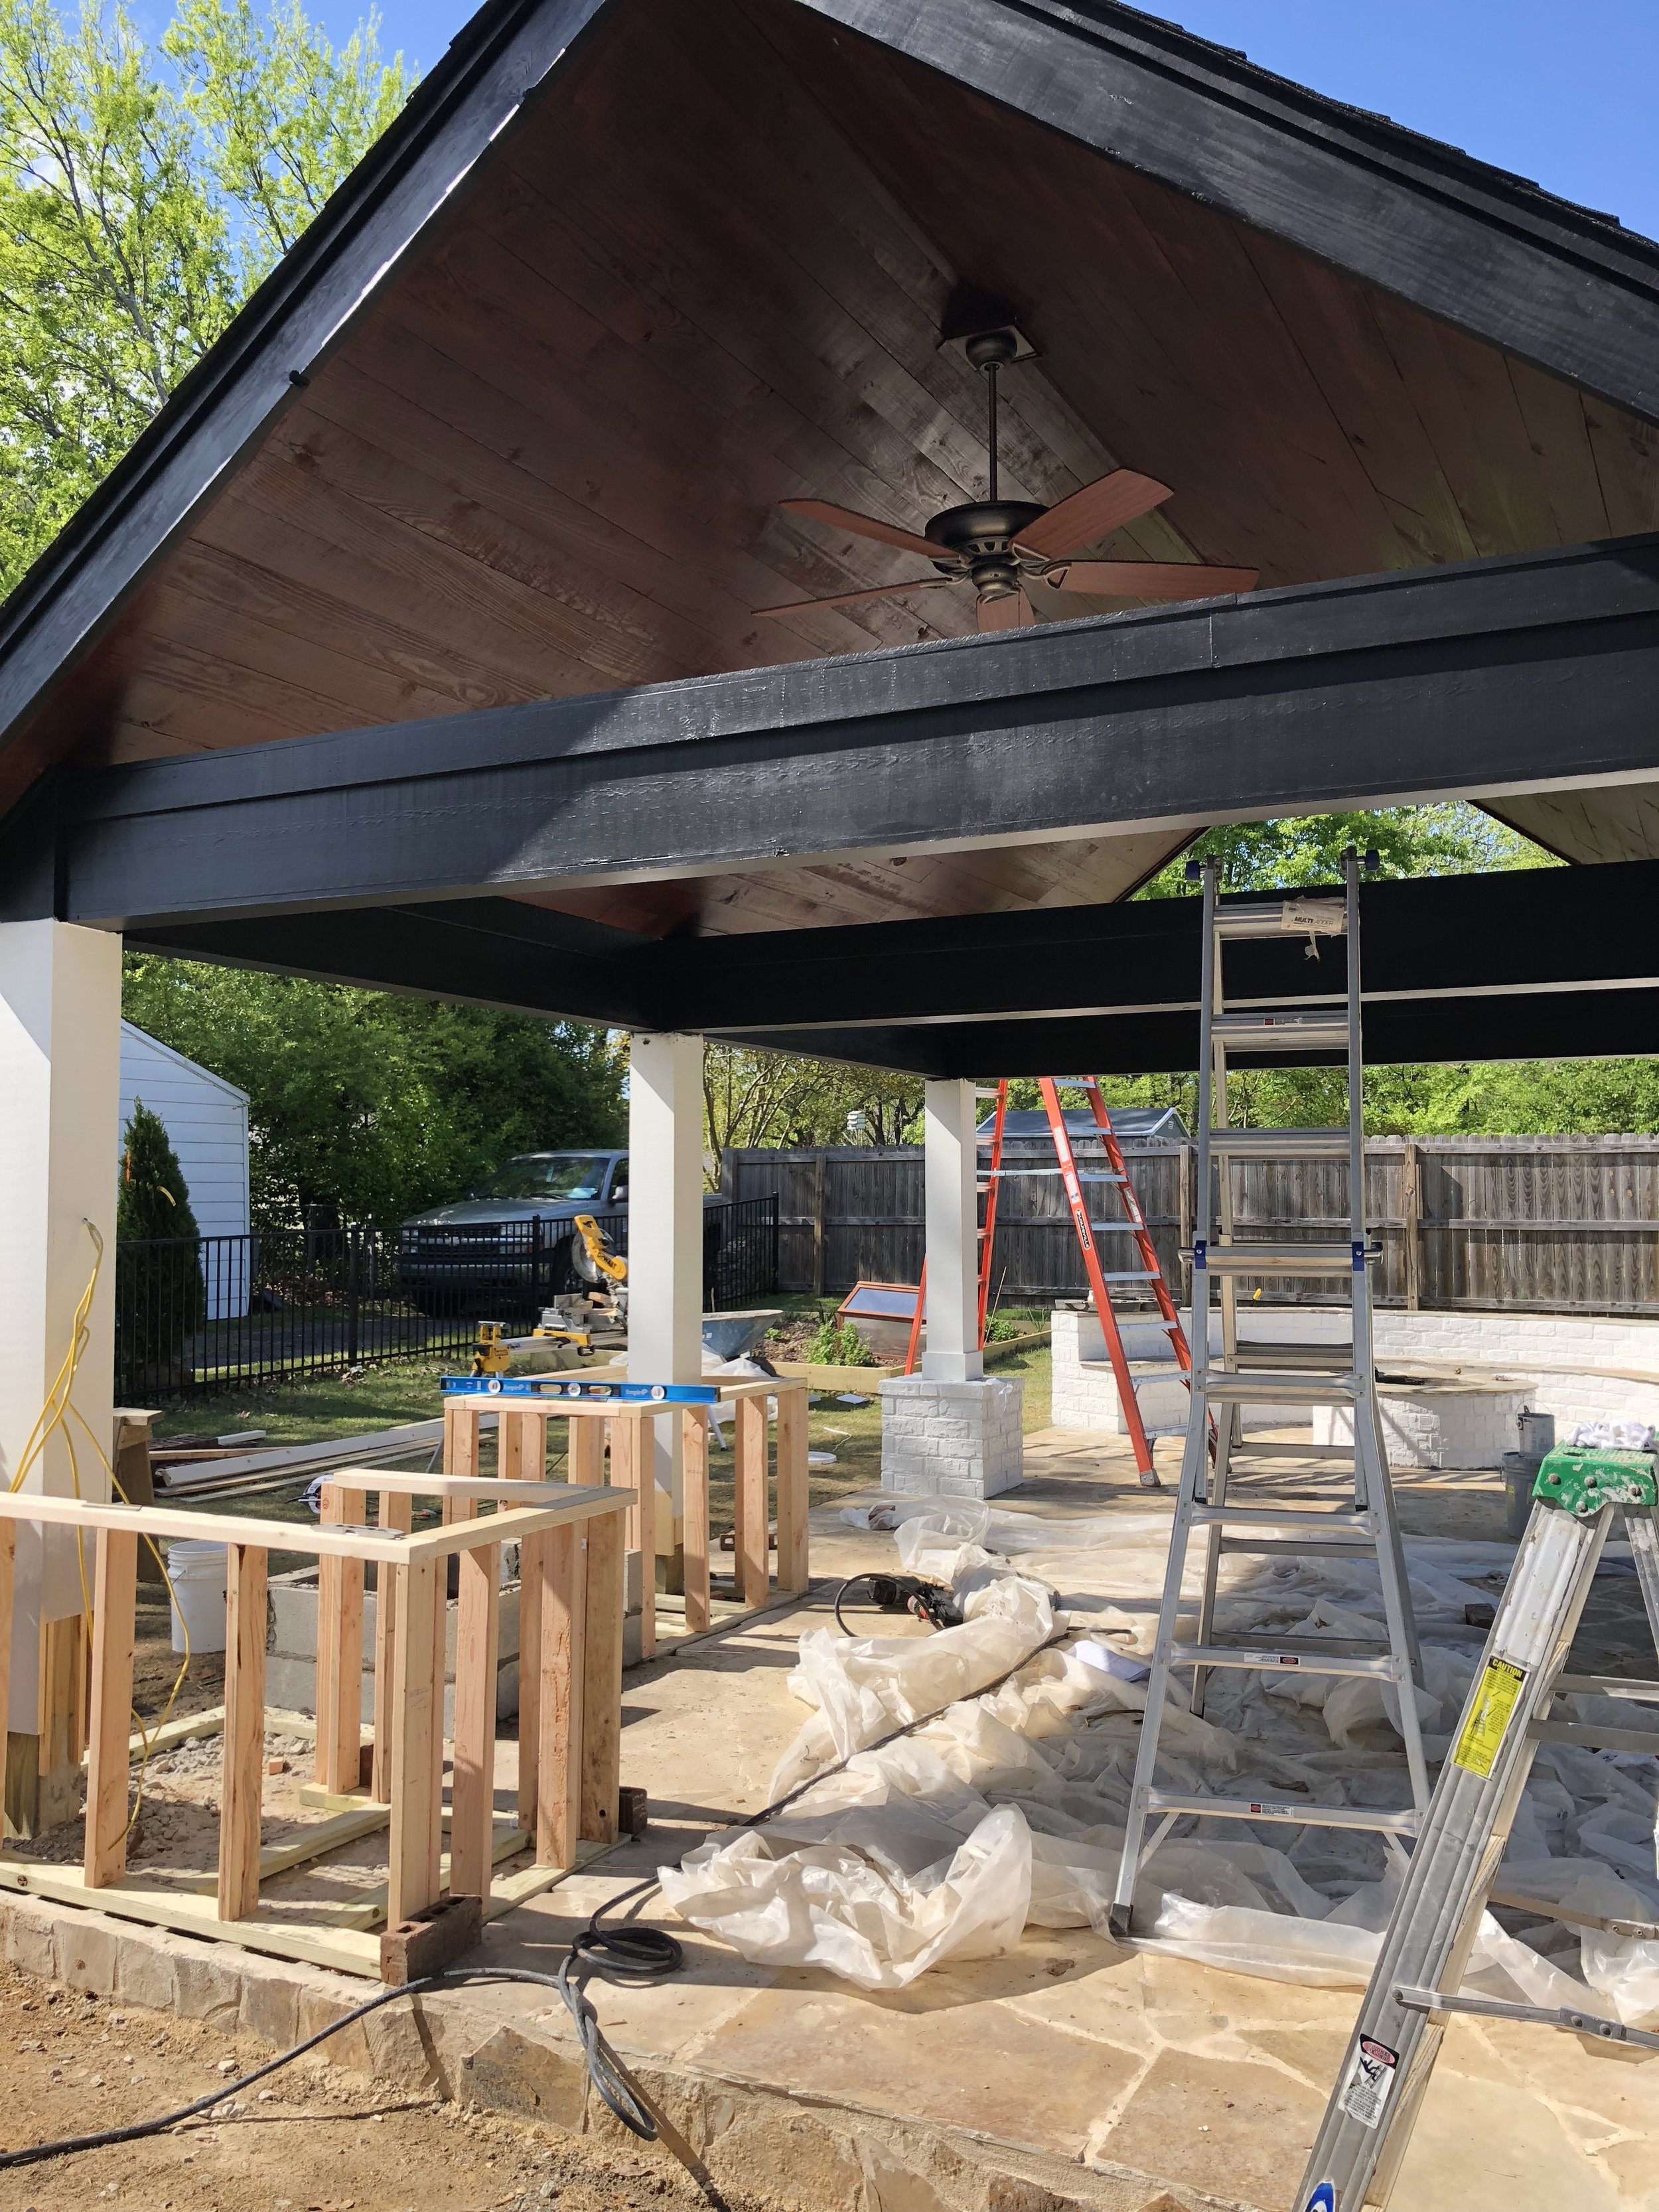
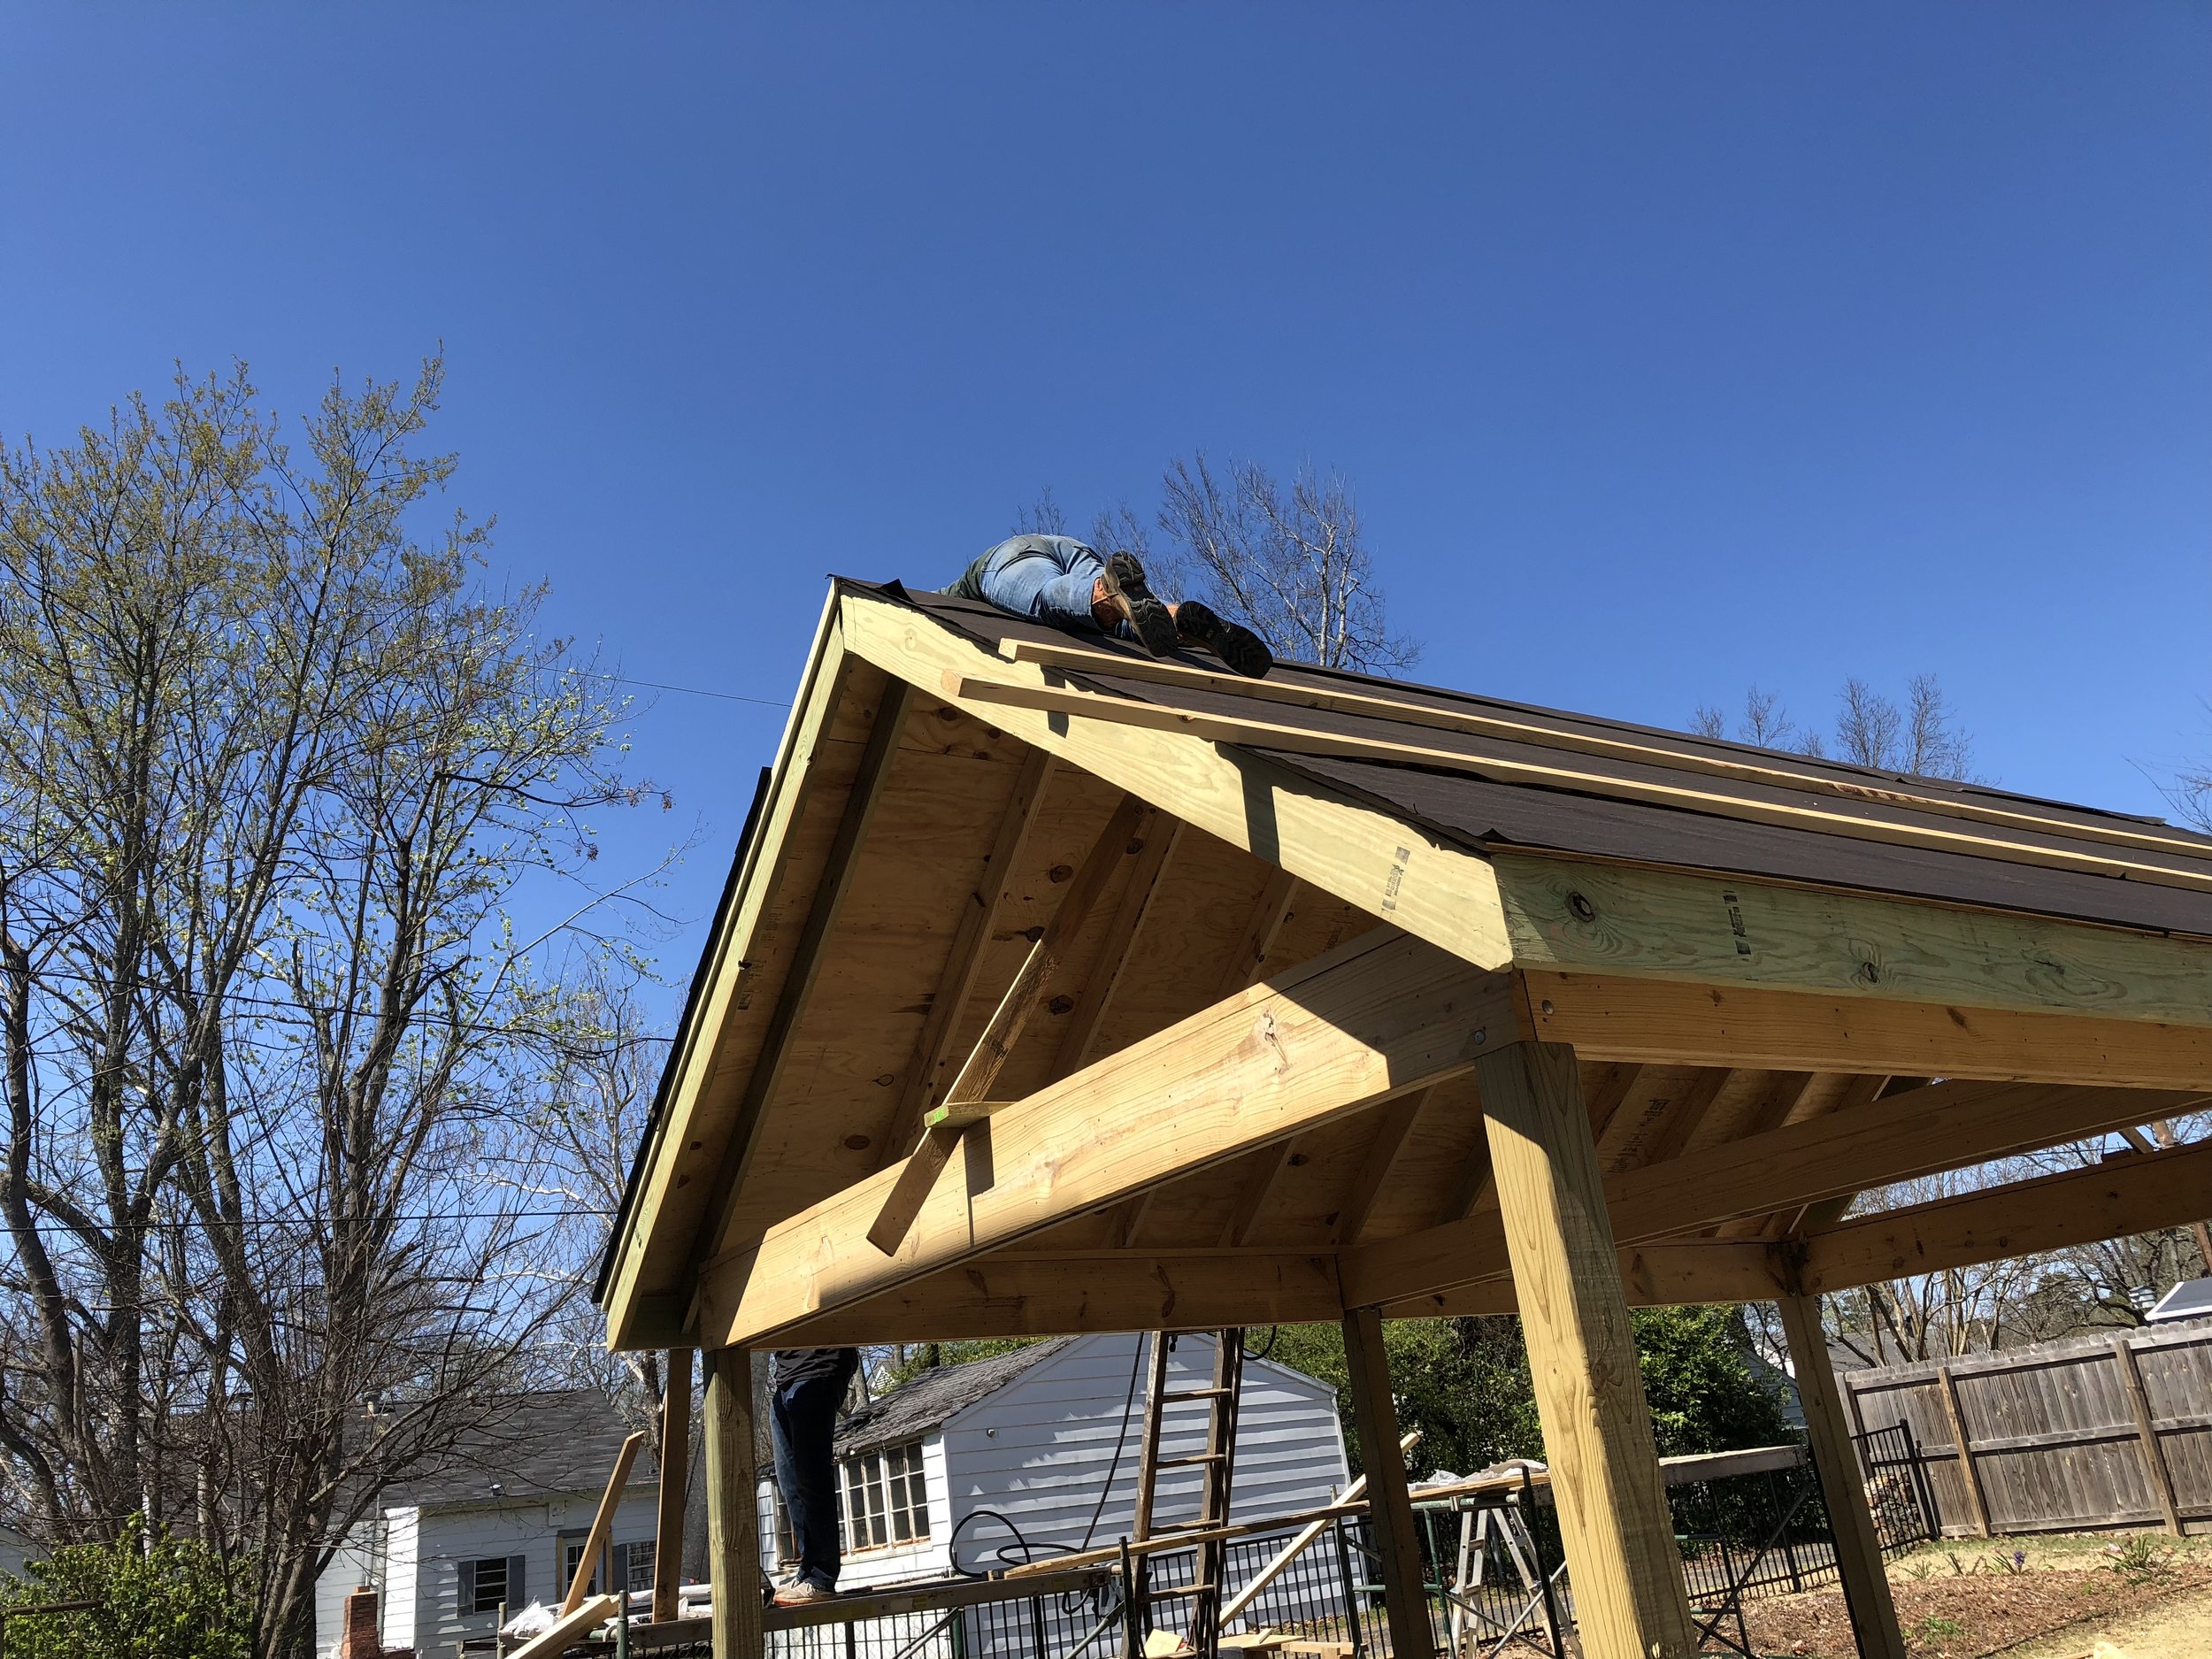
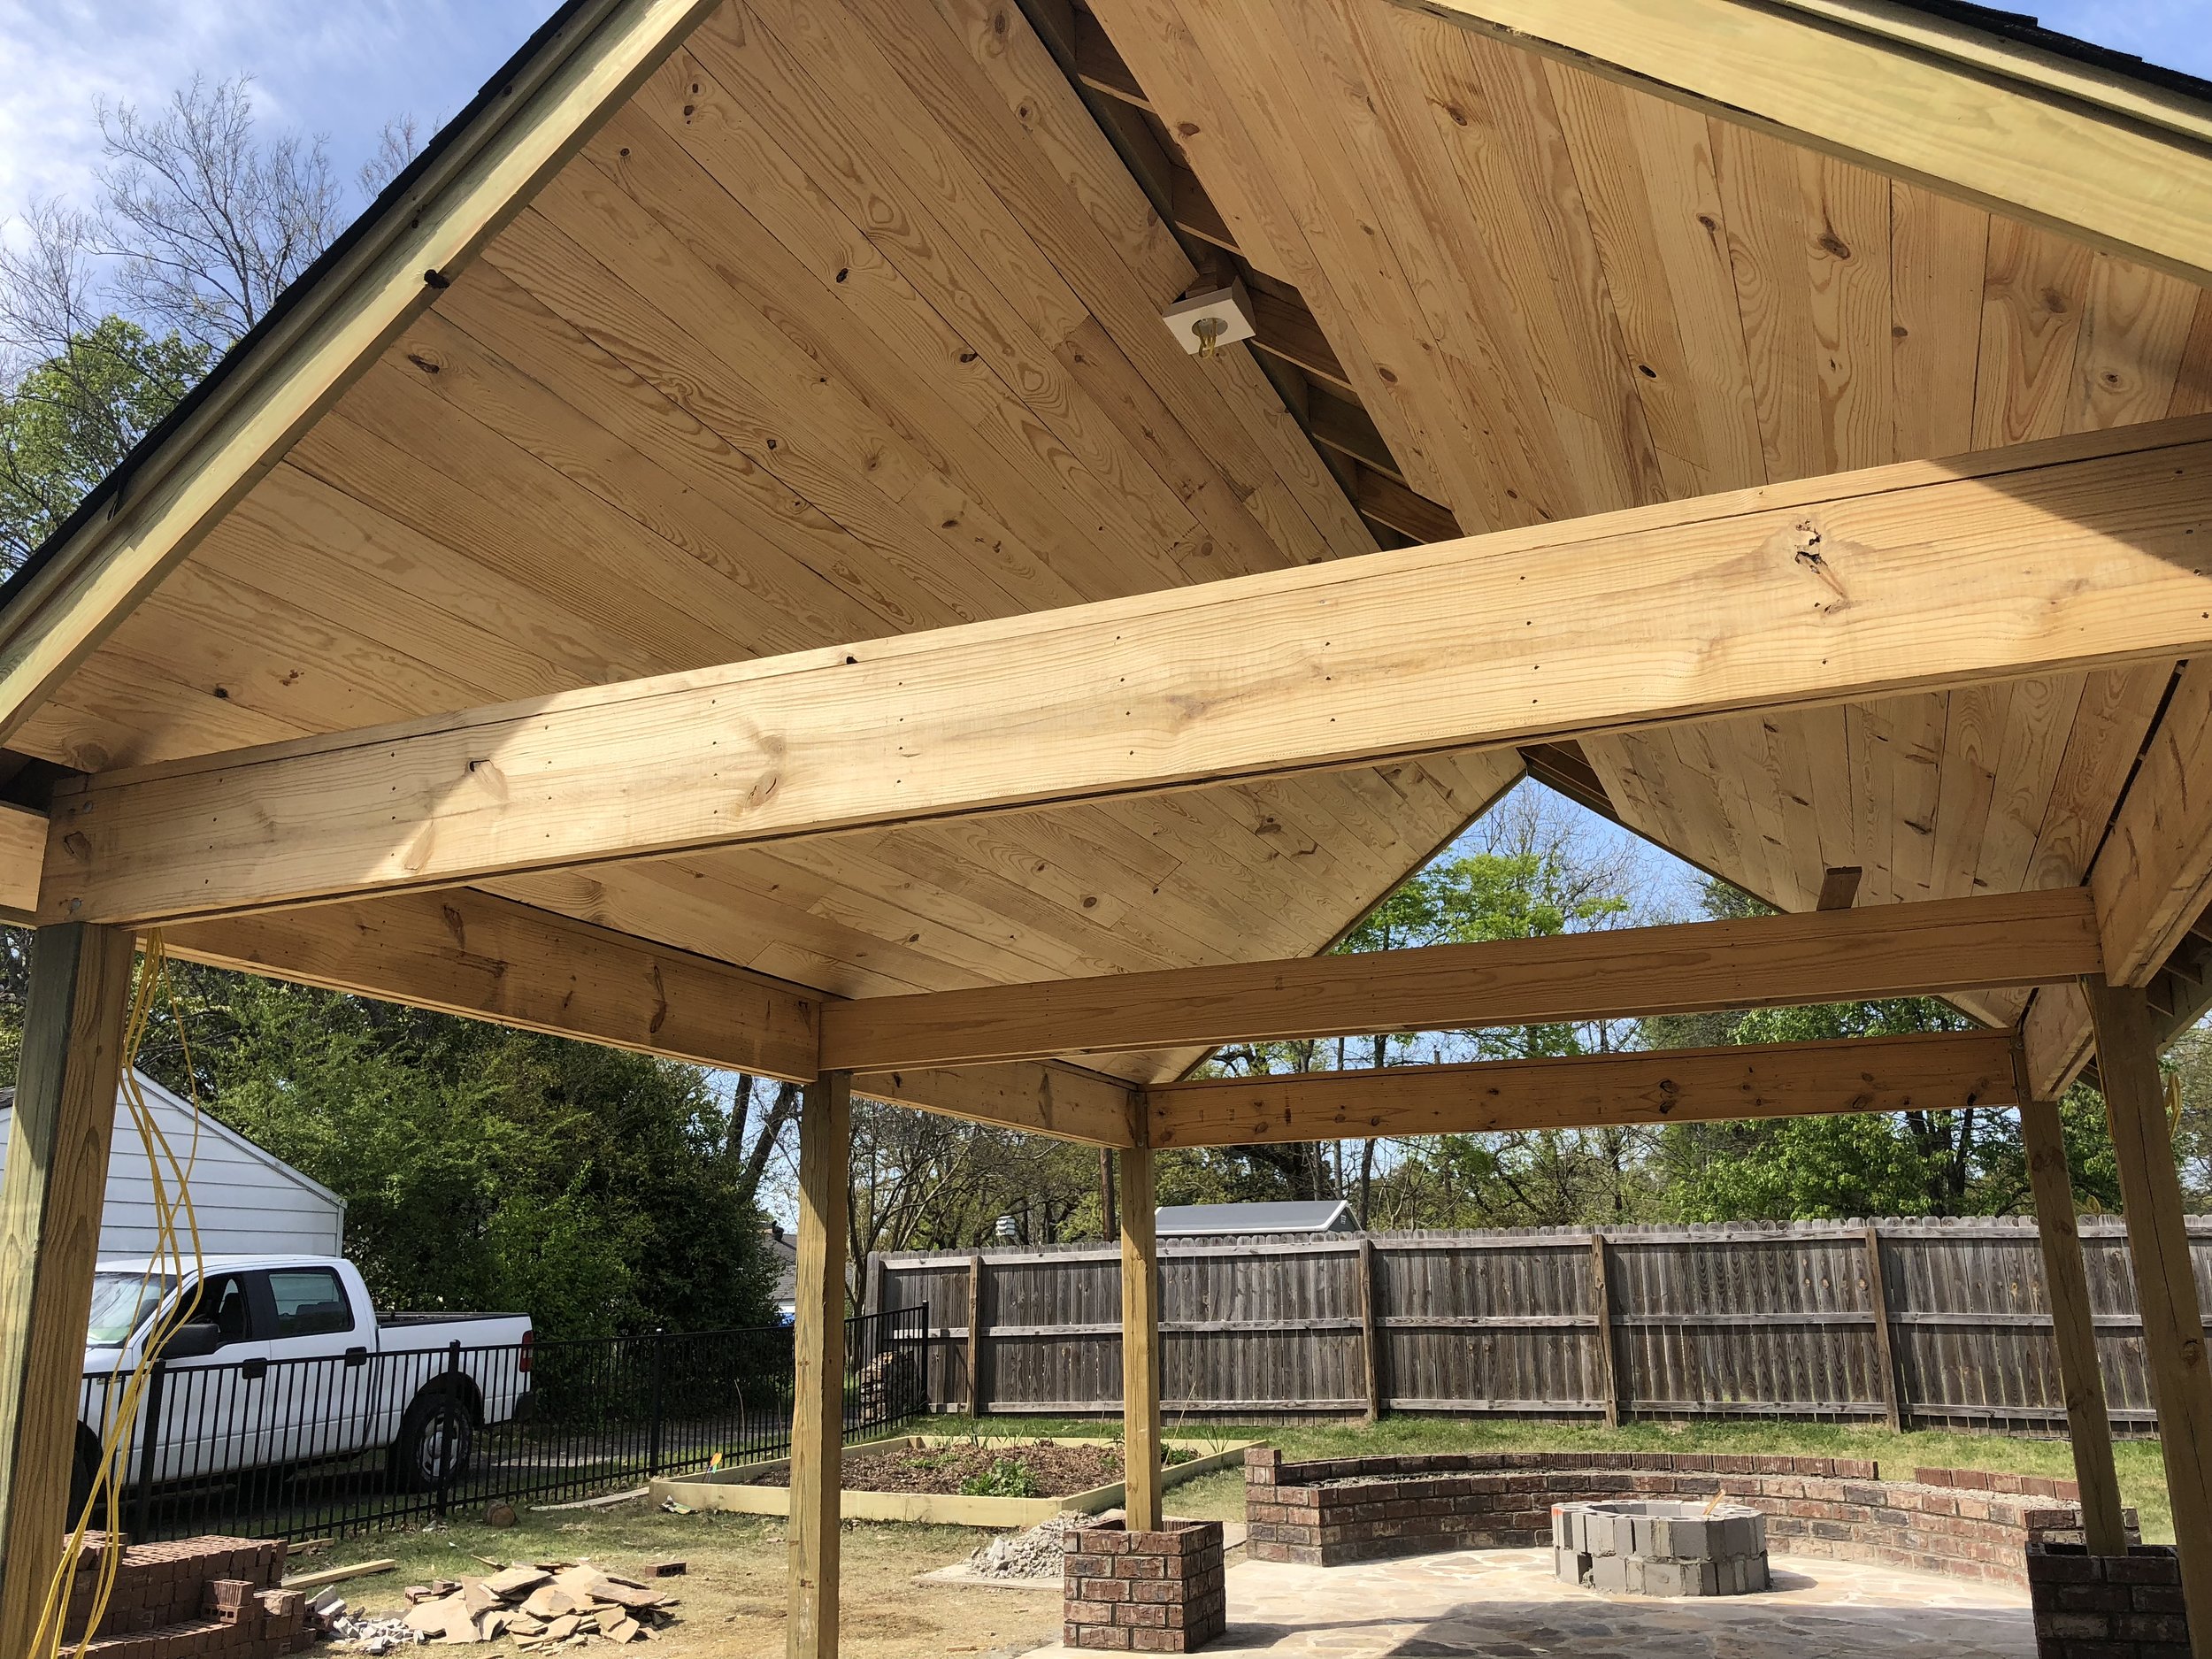
On this particular project we built a wooden frame and cased it all with finish wood. We started out with six post and a bunch of rafters! Once we completed the framing we then moved to the roof and shingles. As you can see from the pictures, shingling wasn't fun! Once the shingles went up we then moved to the finish carpentry work of the ceiling. This ceiling consisted of finish grade one by six lumber. We took each board and laid them edge to edge to give it a rustic look, and to also match the front porch of the existing house. From here we transitioned to the finish trim for the beams and post. For this particular project to be complete it was imperative for the structure to match the house identically. That meant for the shingles/paint/stain to all be the same color!


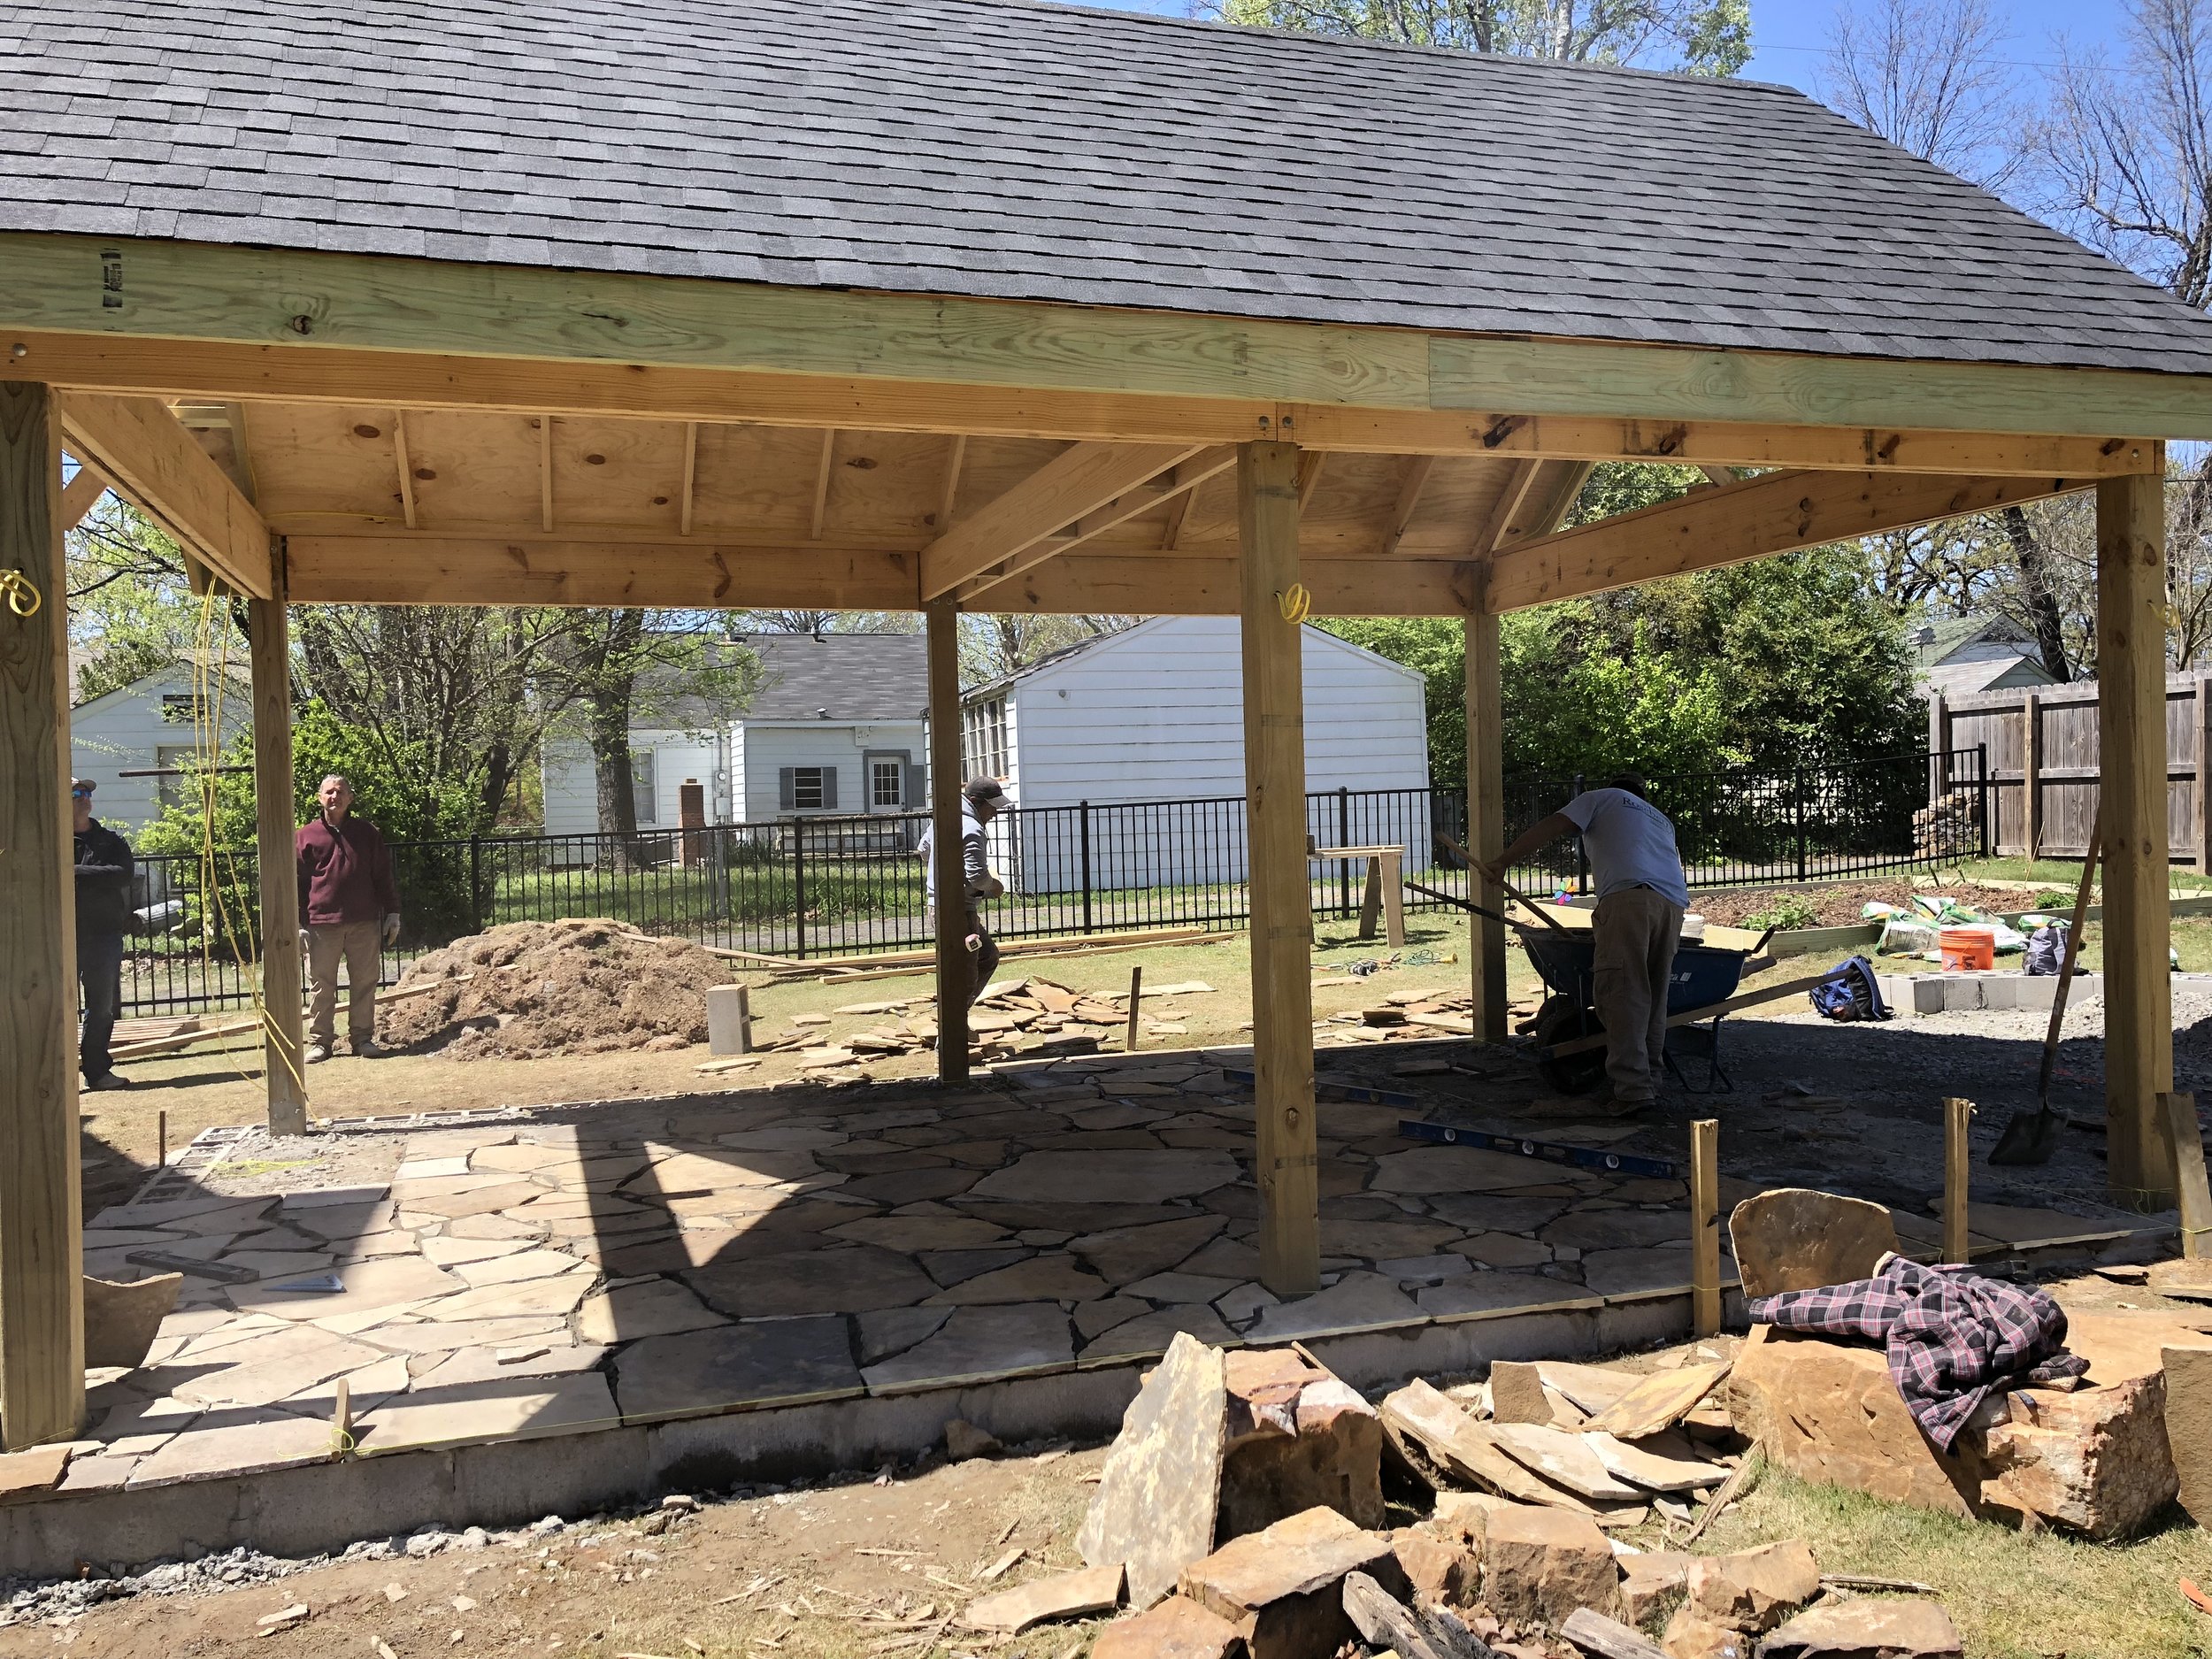
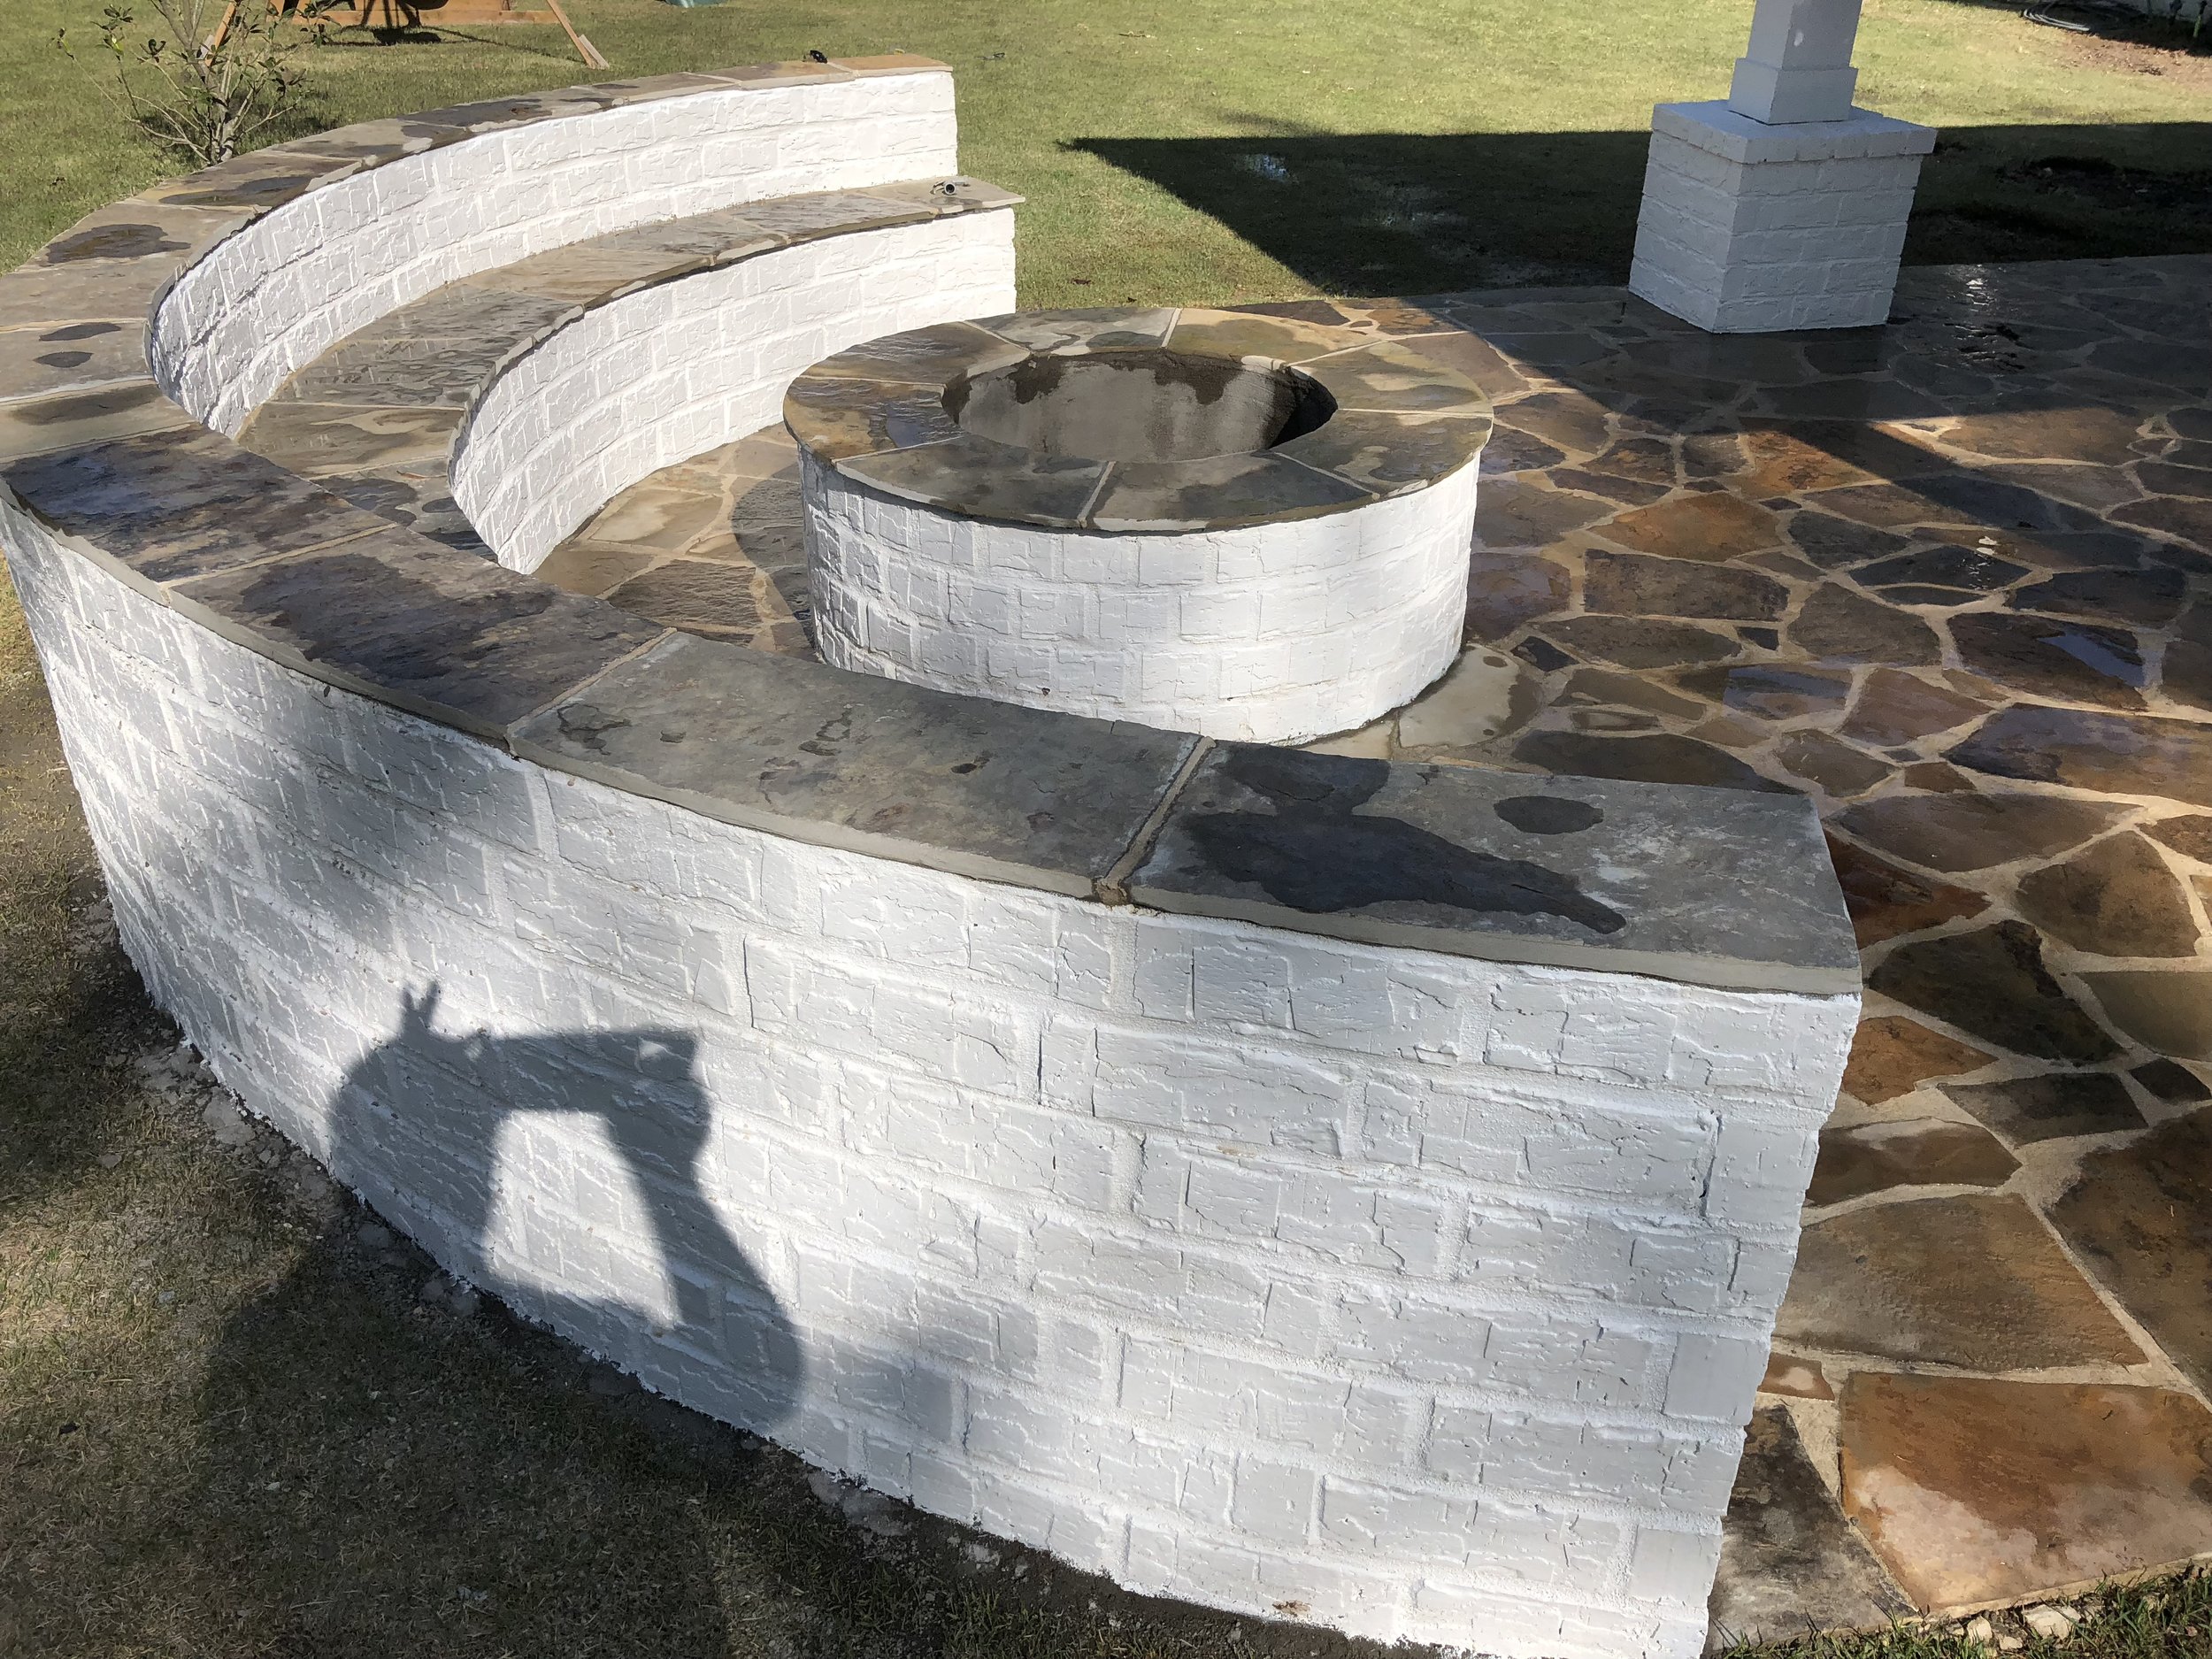
Construction of Hardscapes
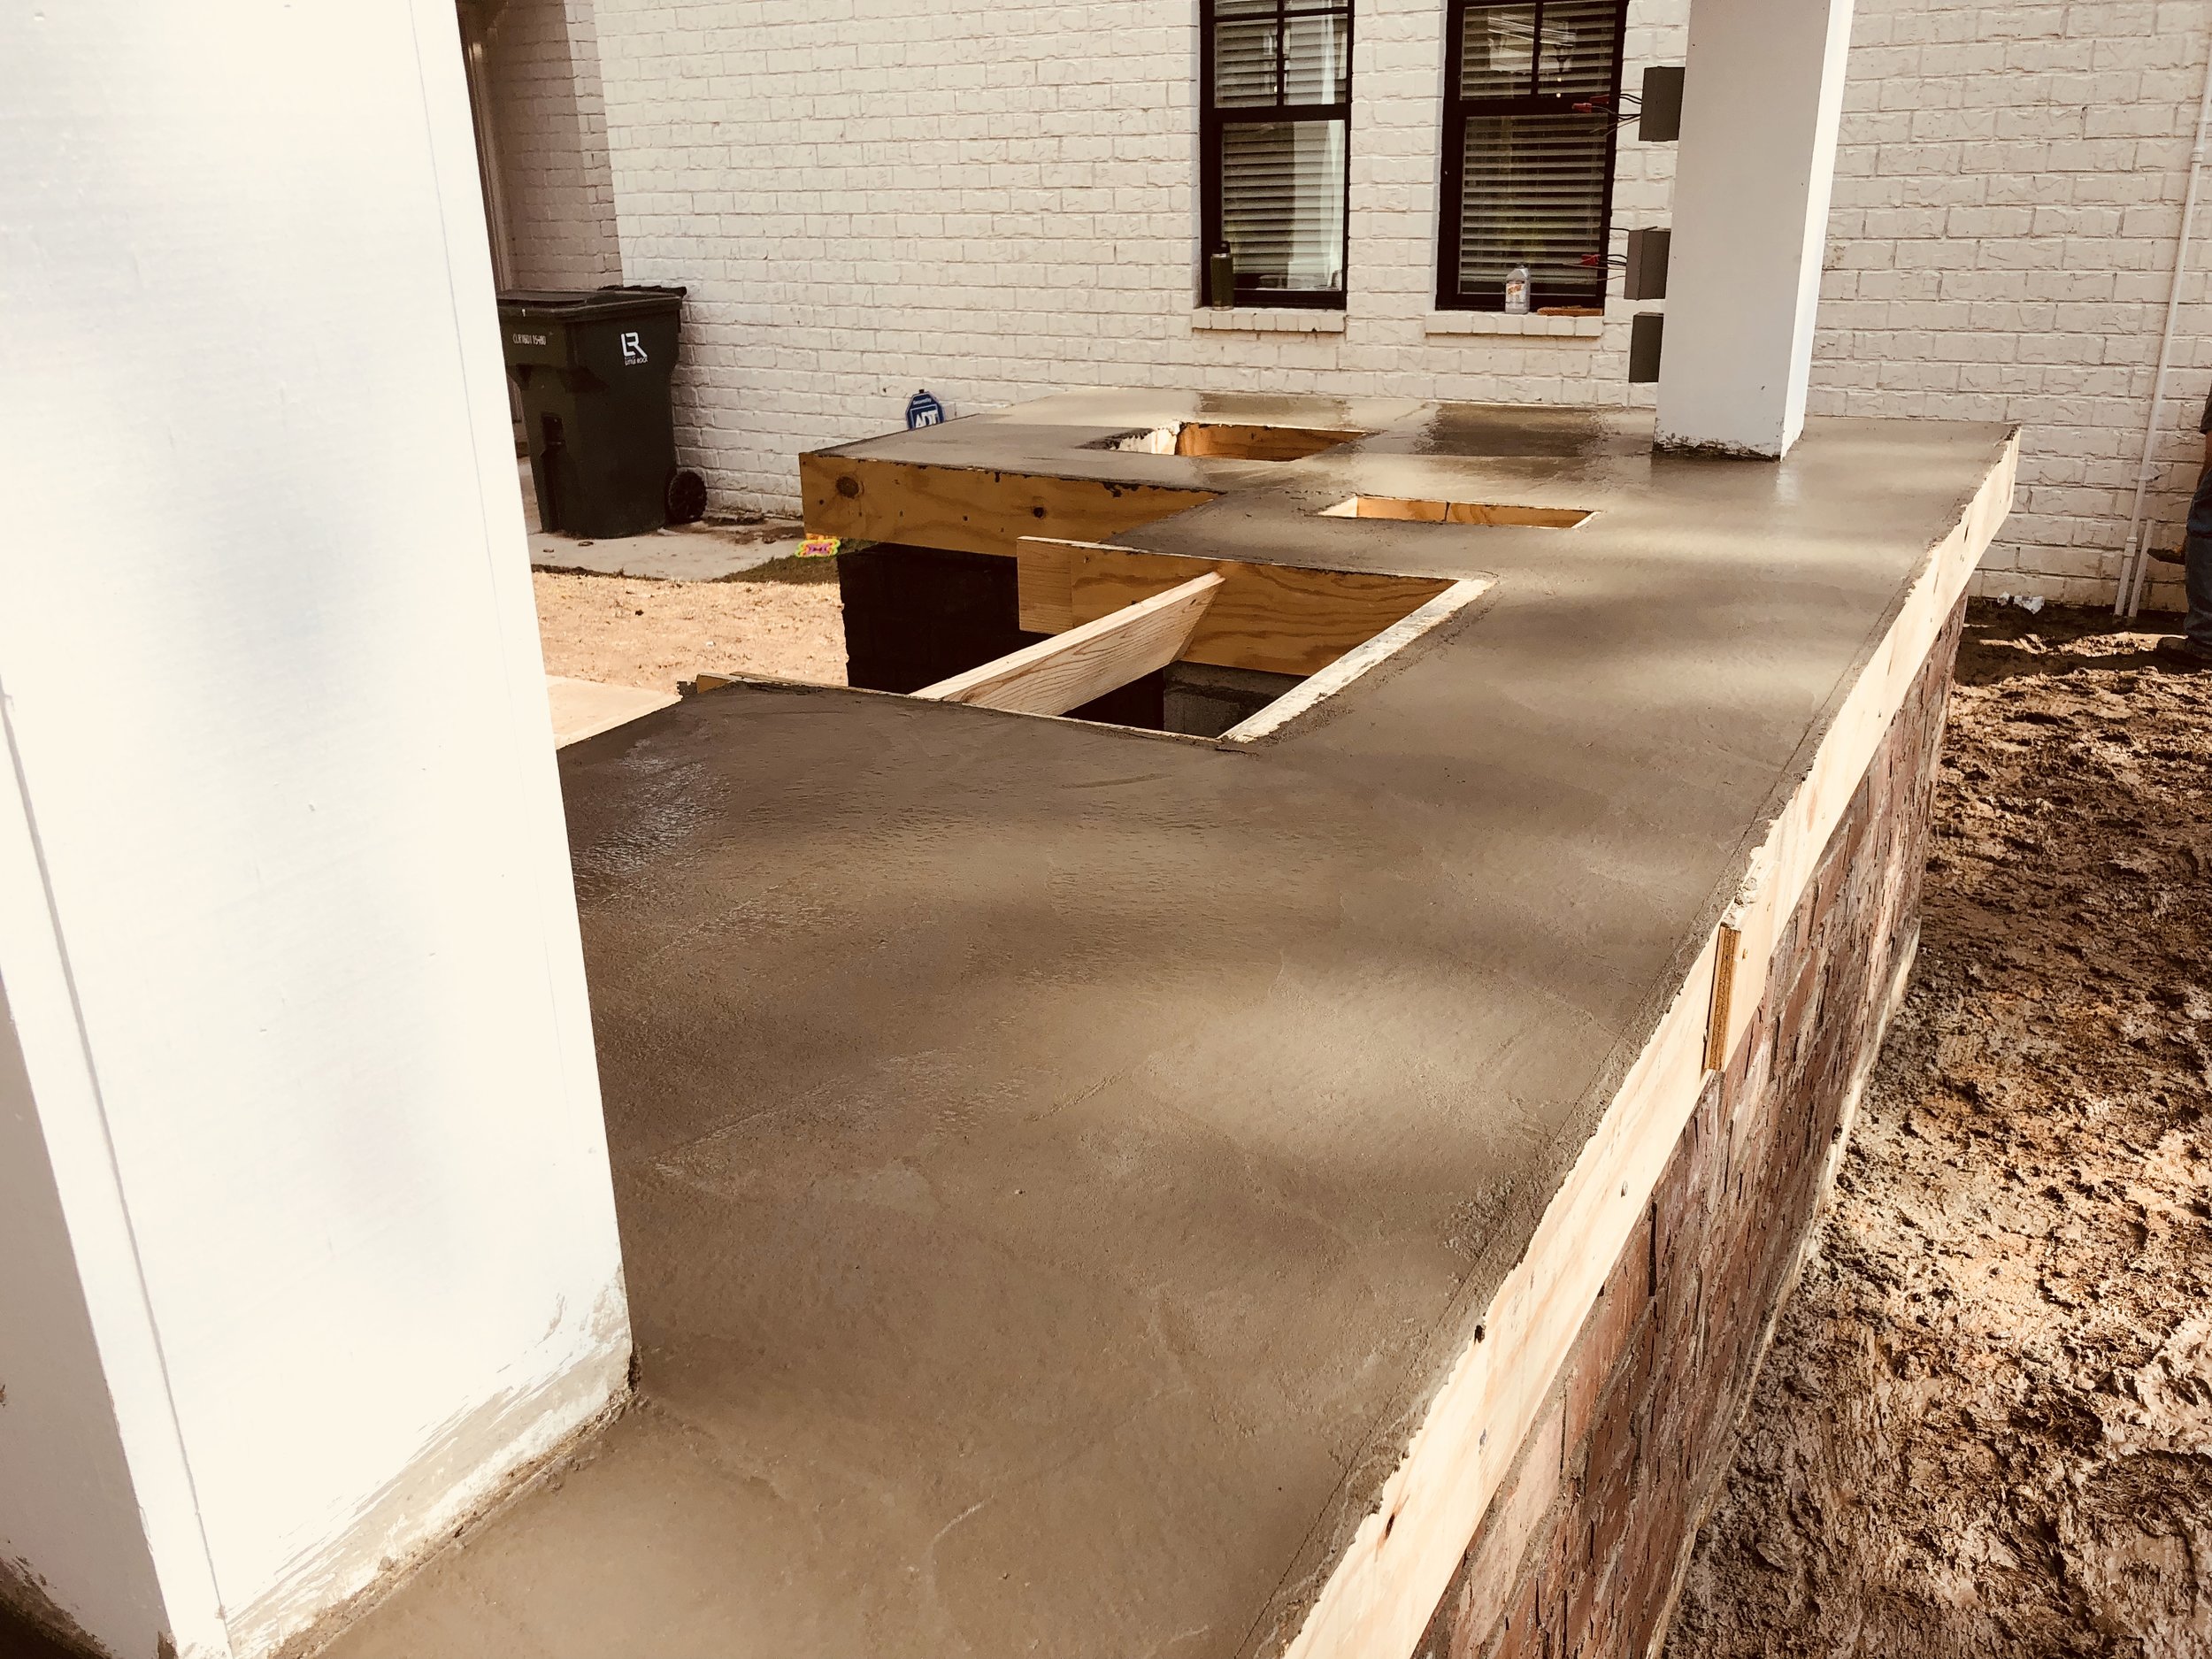
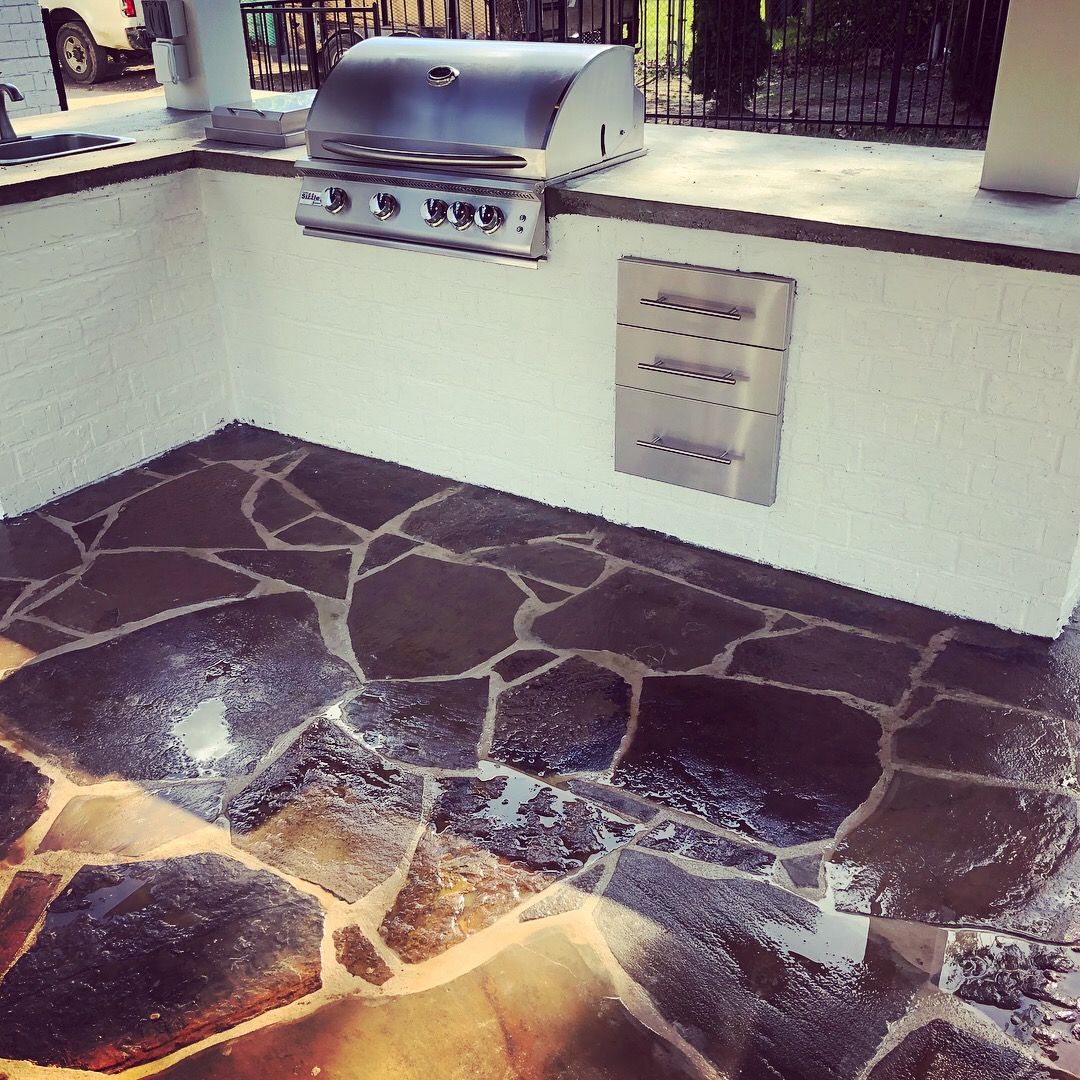
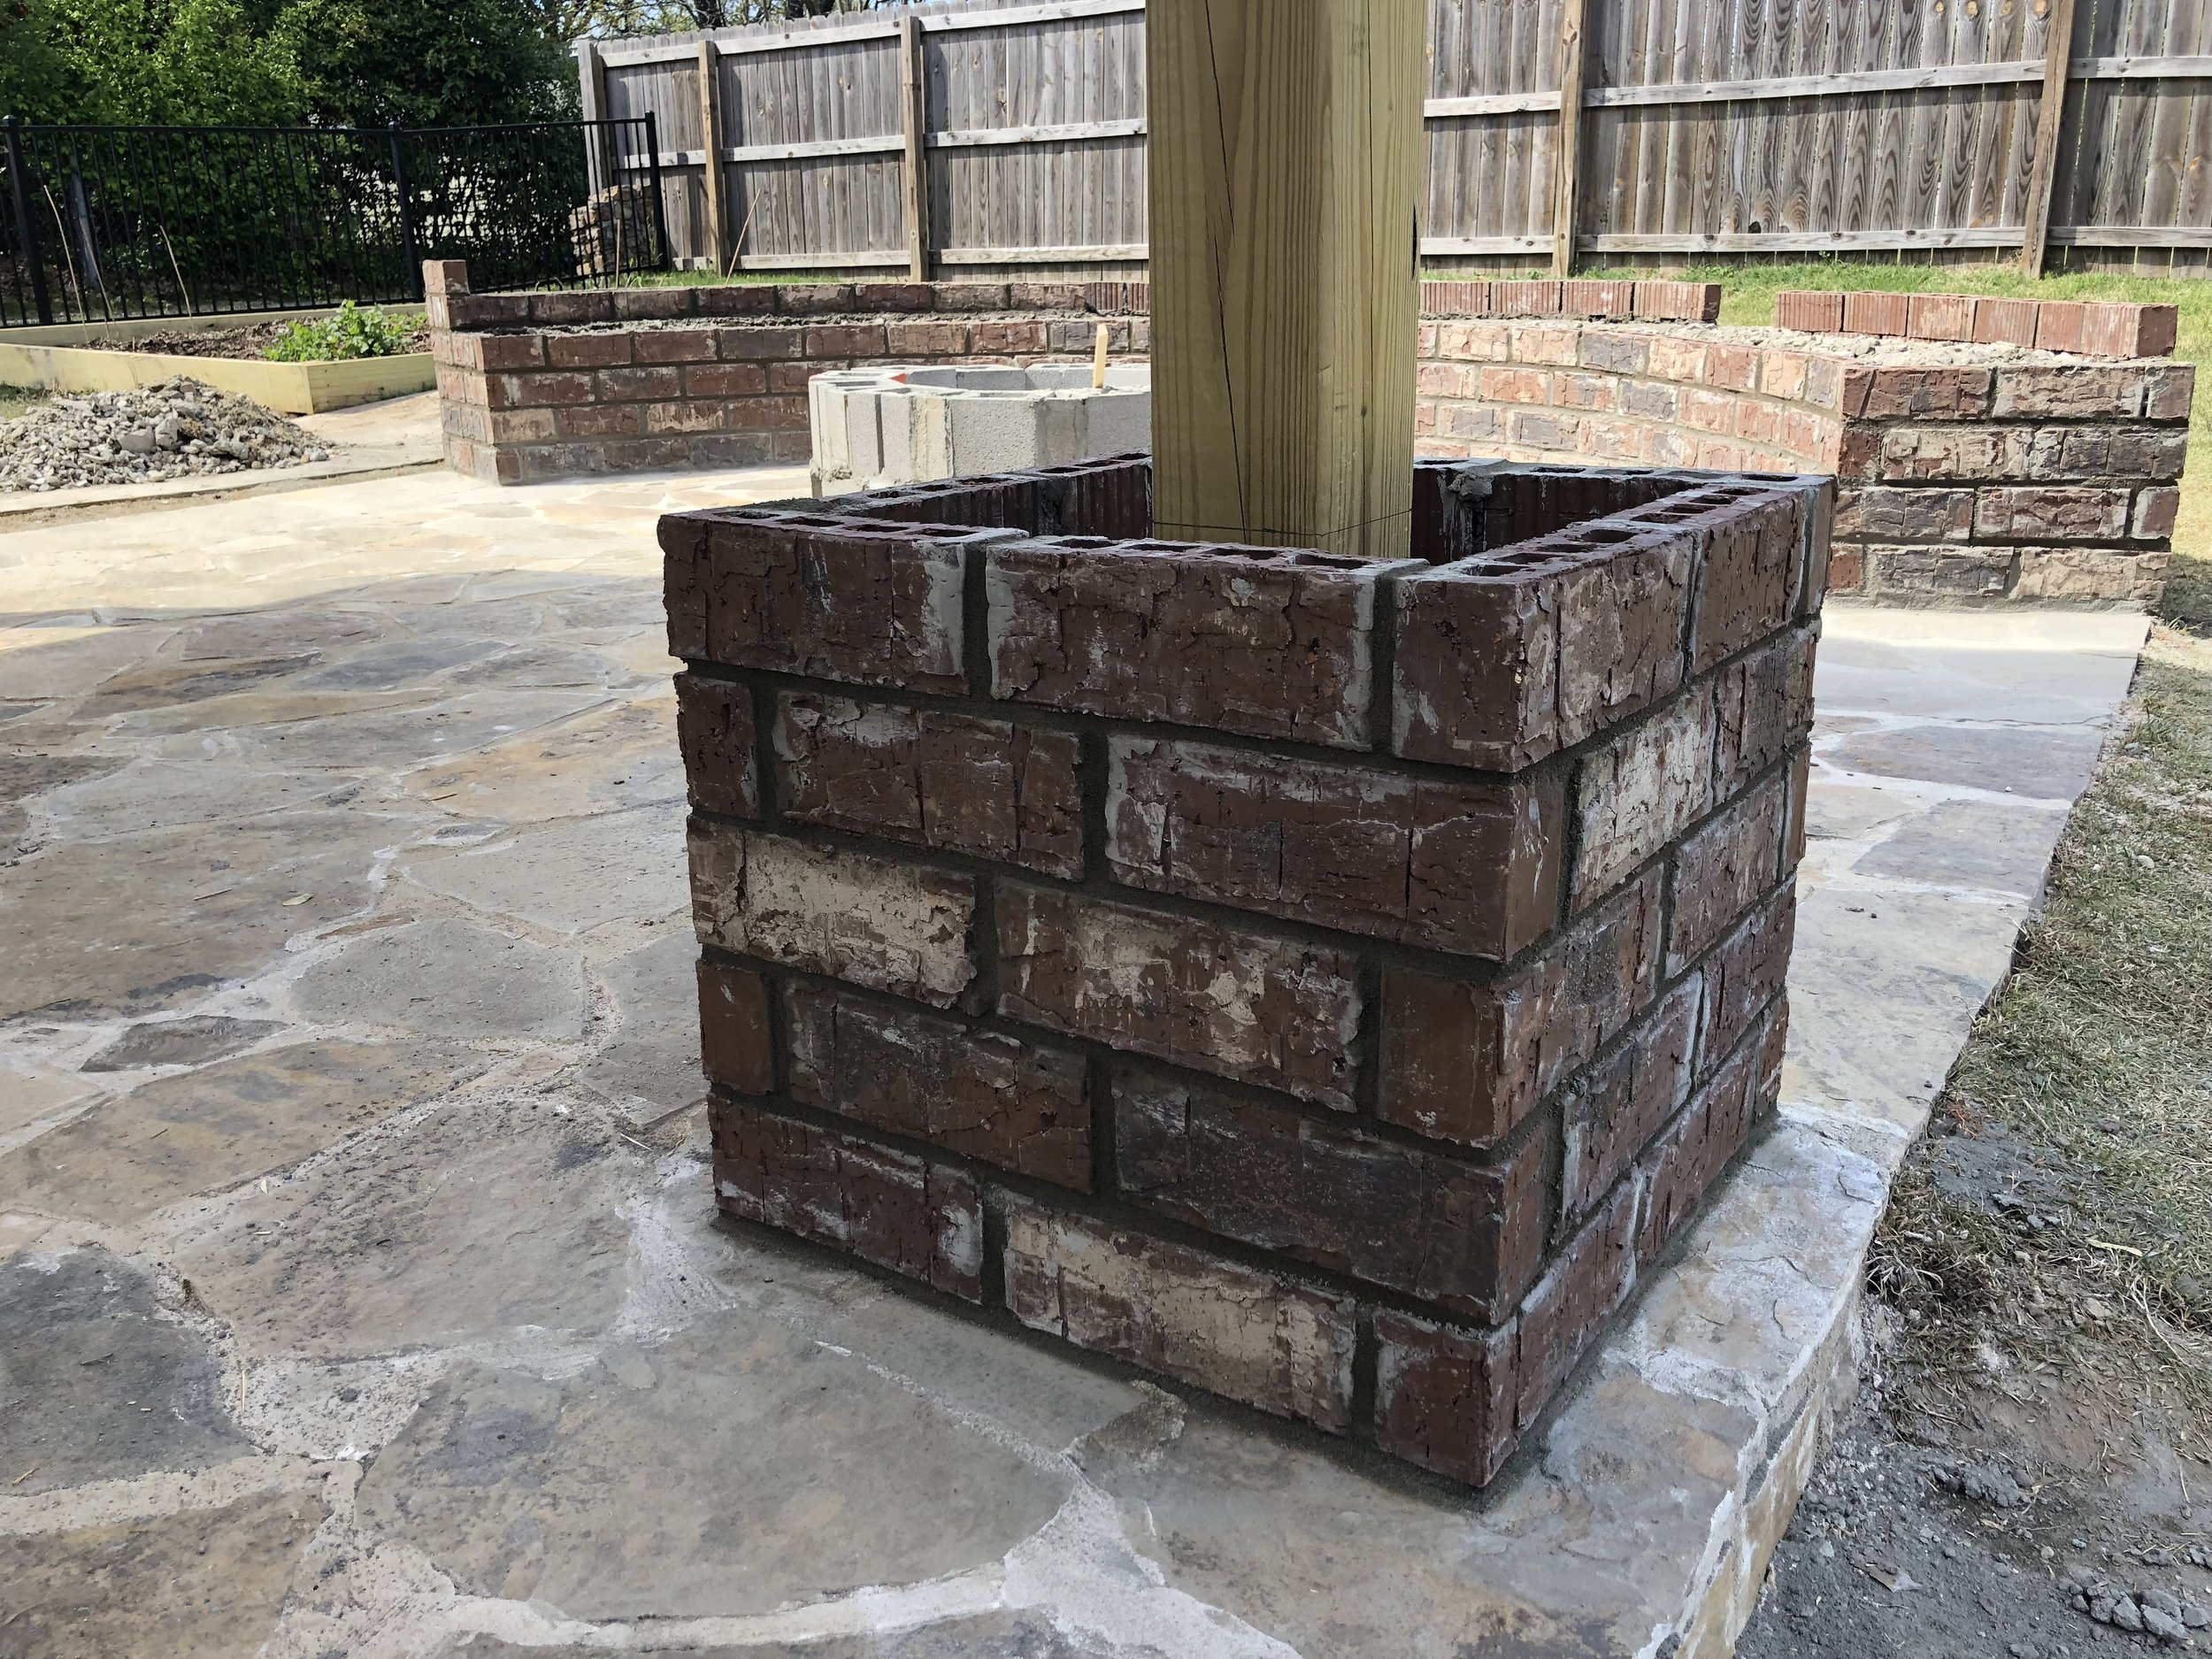
The hardscape portion of this job was by far the hardest and most time consuming! It consisted of flagstone, brick and concrete! The first application was to lay the flagstone flooring, this consisted of using natural Arkansas quarried chestnut flagstone. That's right, this stone comes straight out of the Earth here in Arkansas! We needed to use a color of stone that not only matched the main House color scheme but a color that would stand out as well. From here we moved to the brick forms for the Fire Pit, Sitting Bench and Post Feet. We used matching brick from the house and the finished product was painted with the same color as the house. Once we completed those items we moved to the most important aspect of the project, the kitchen area! We were excited about this portion because we were pouring concrete counter tops. The kitchen area was constructed with a mix of materials including wood, brick, cinder blocks and concrete. We also installed a custom fit sink! The kitchen area also included a built in gas grill and pull out stainless steel drawers.


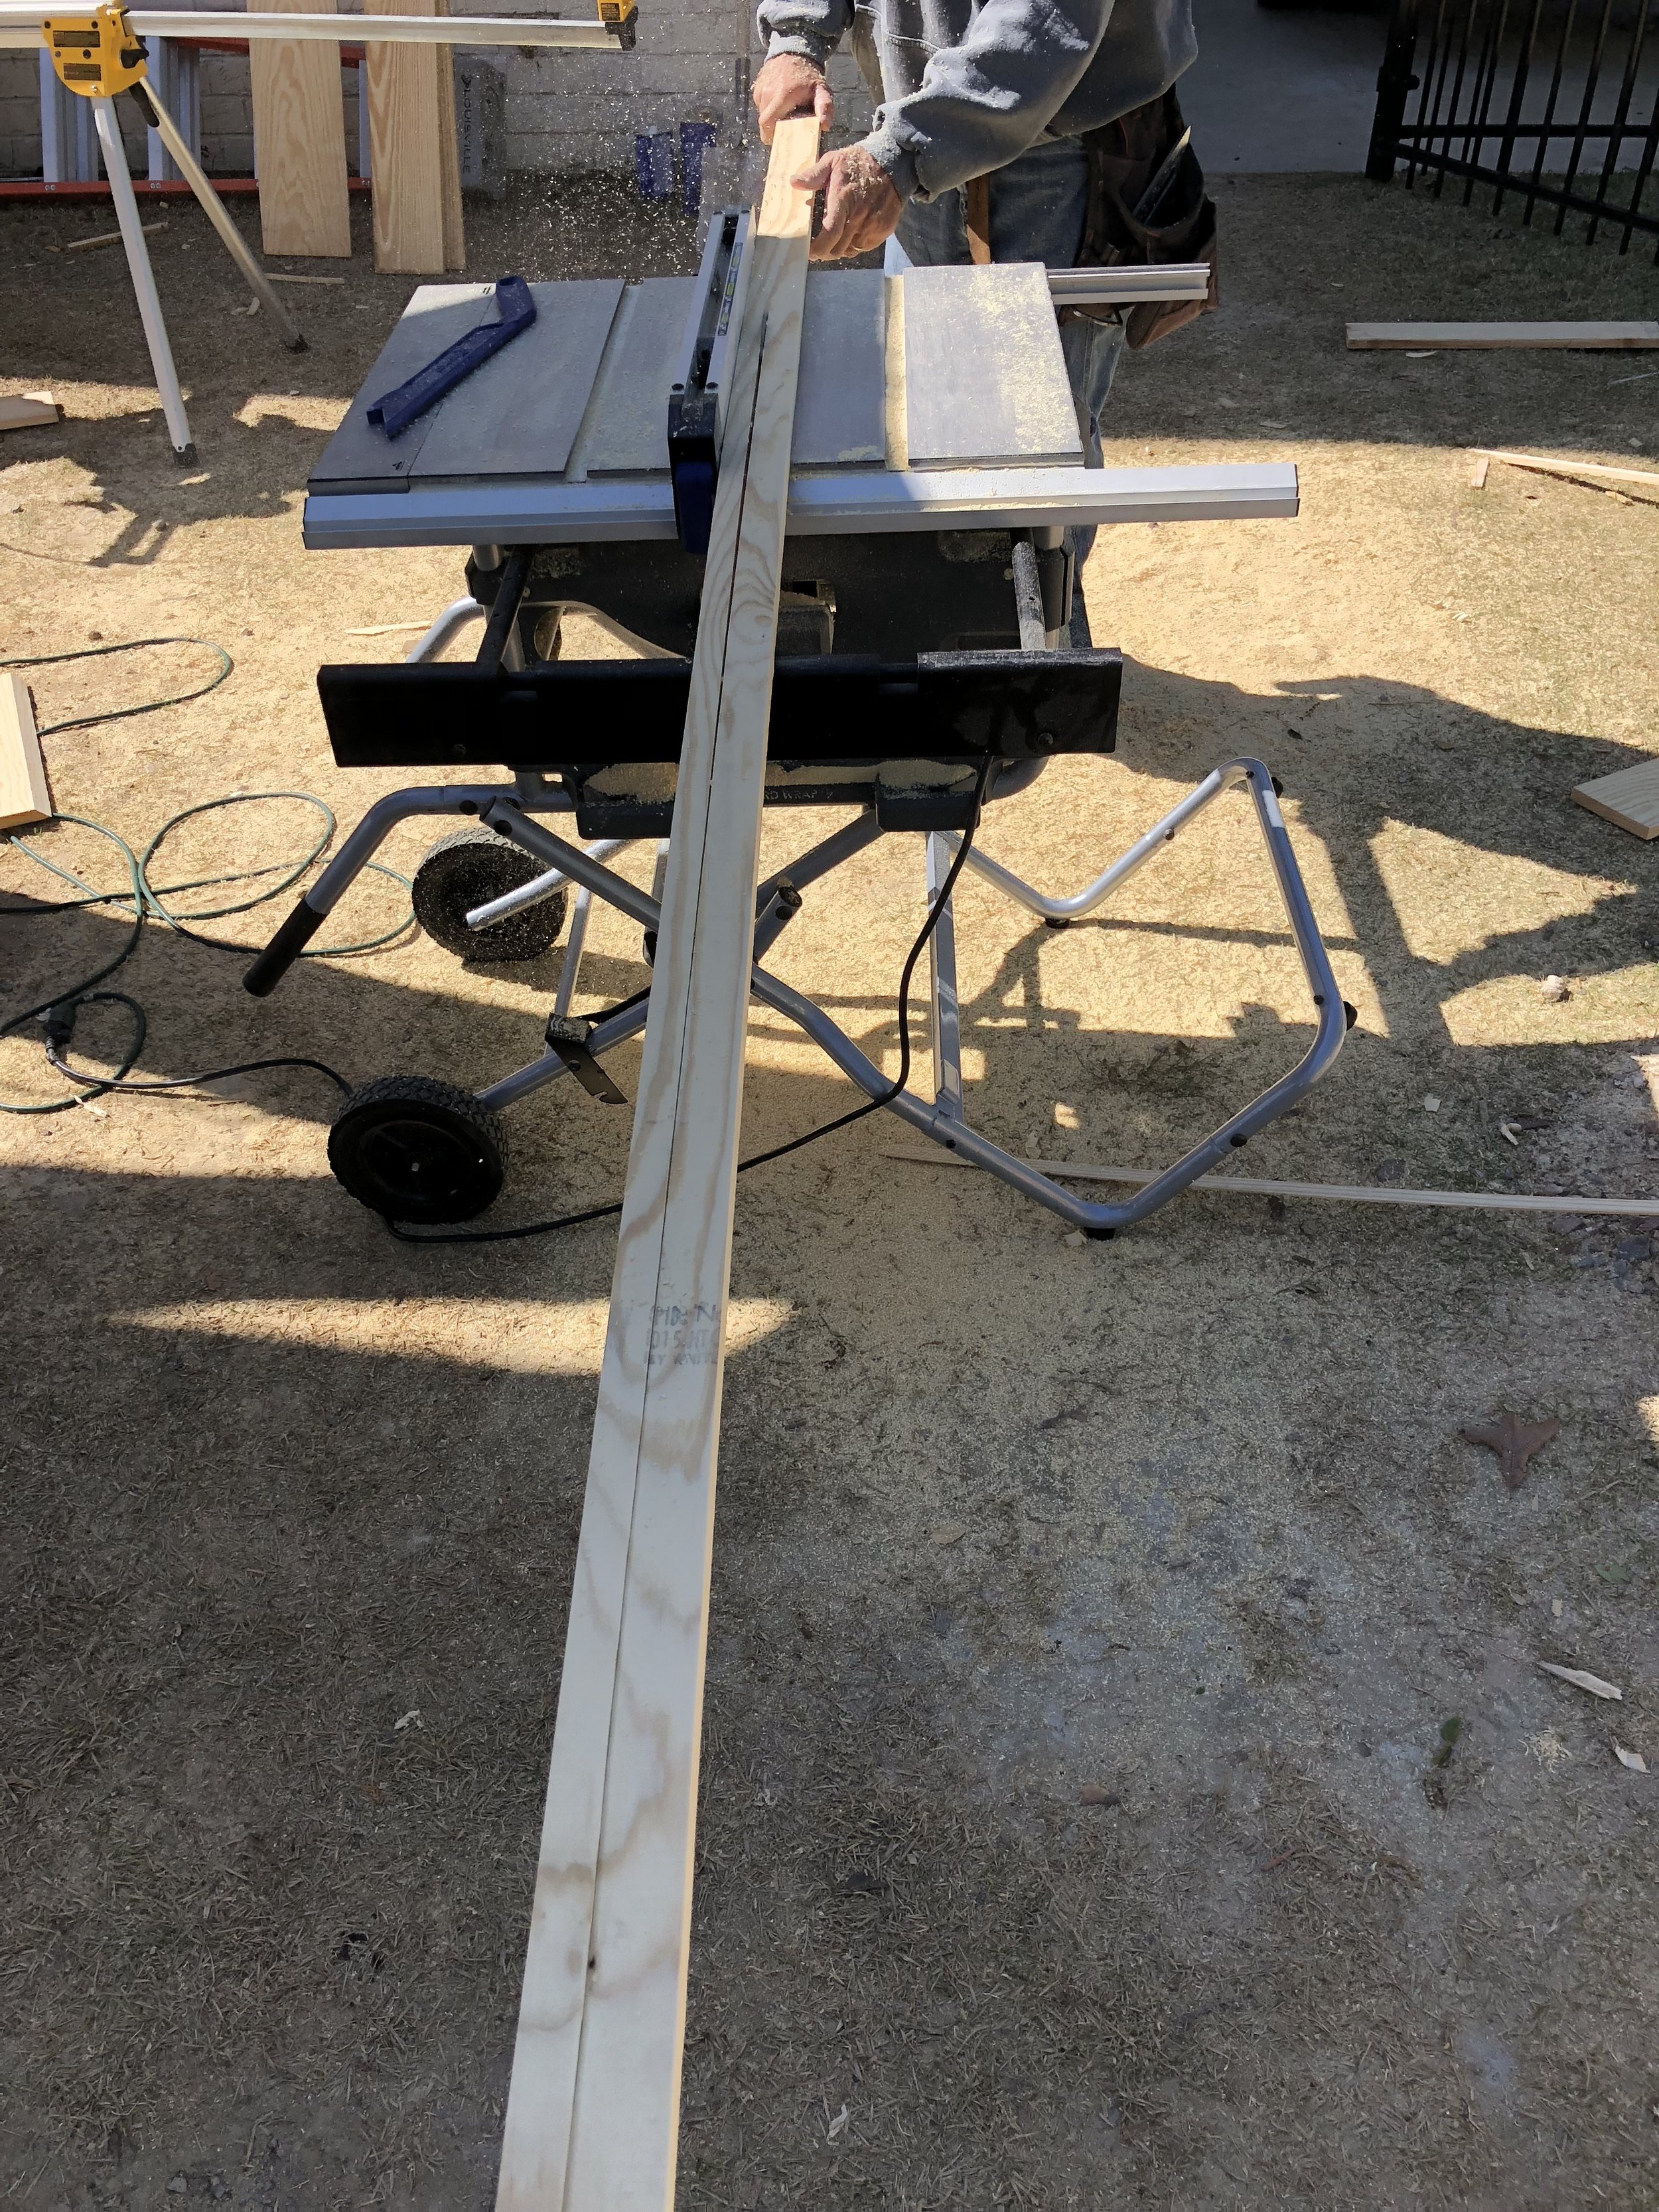
Finish Trim, Electrical and Paint
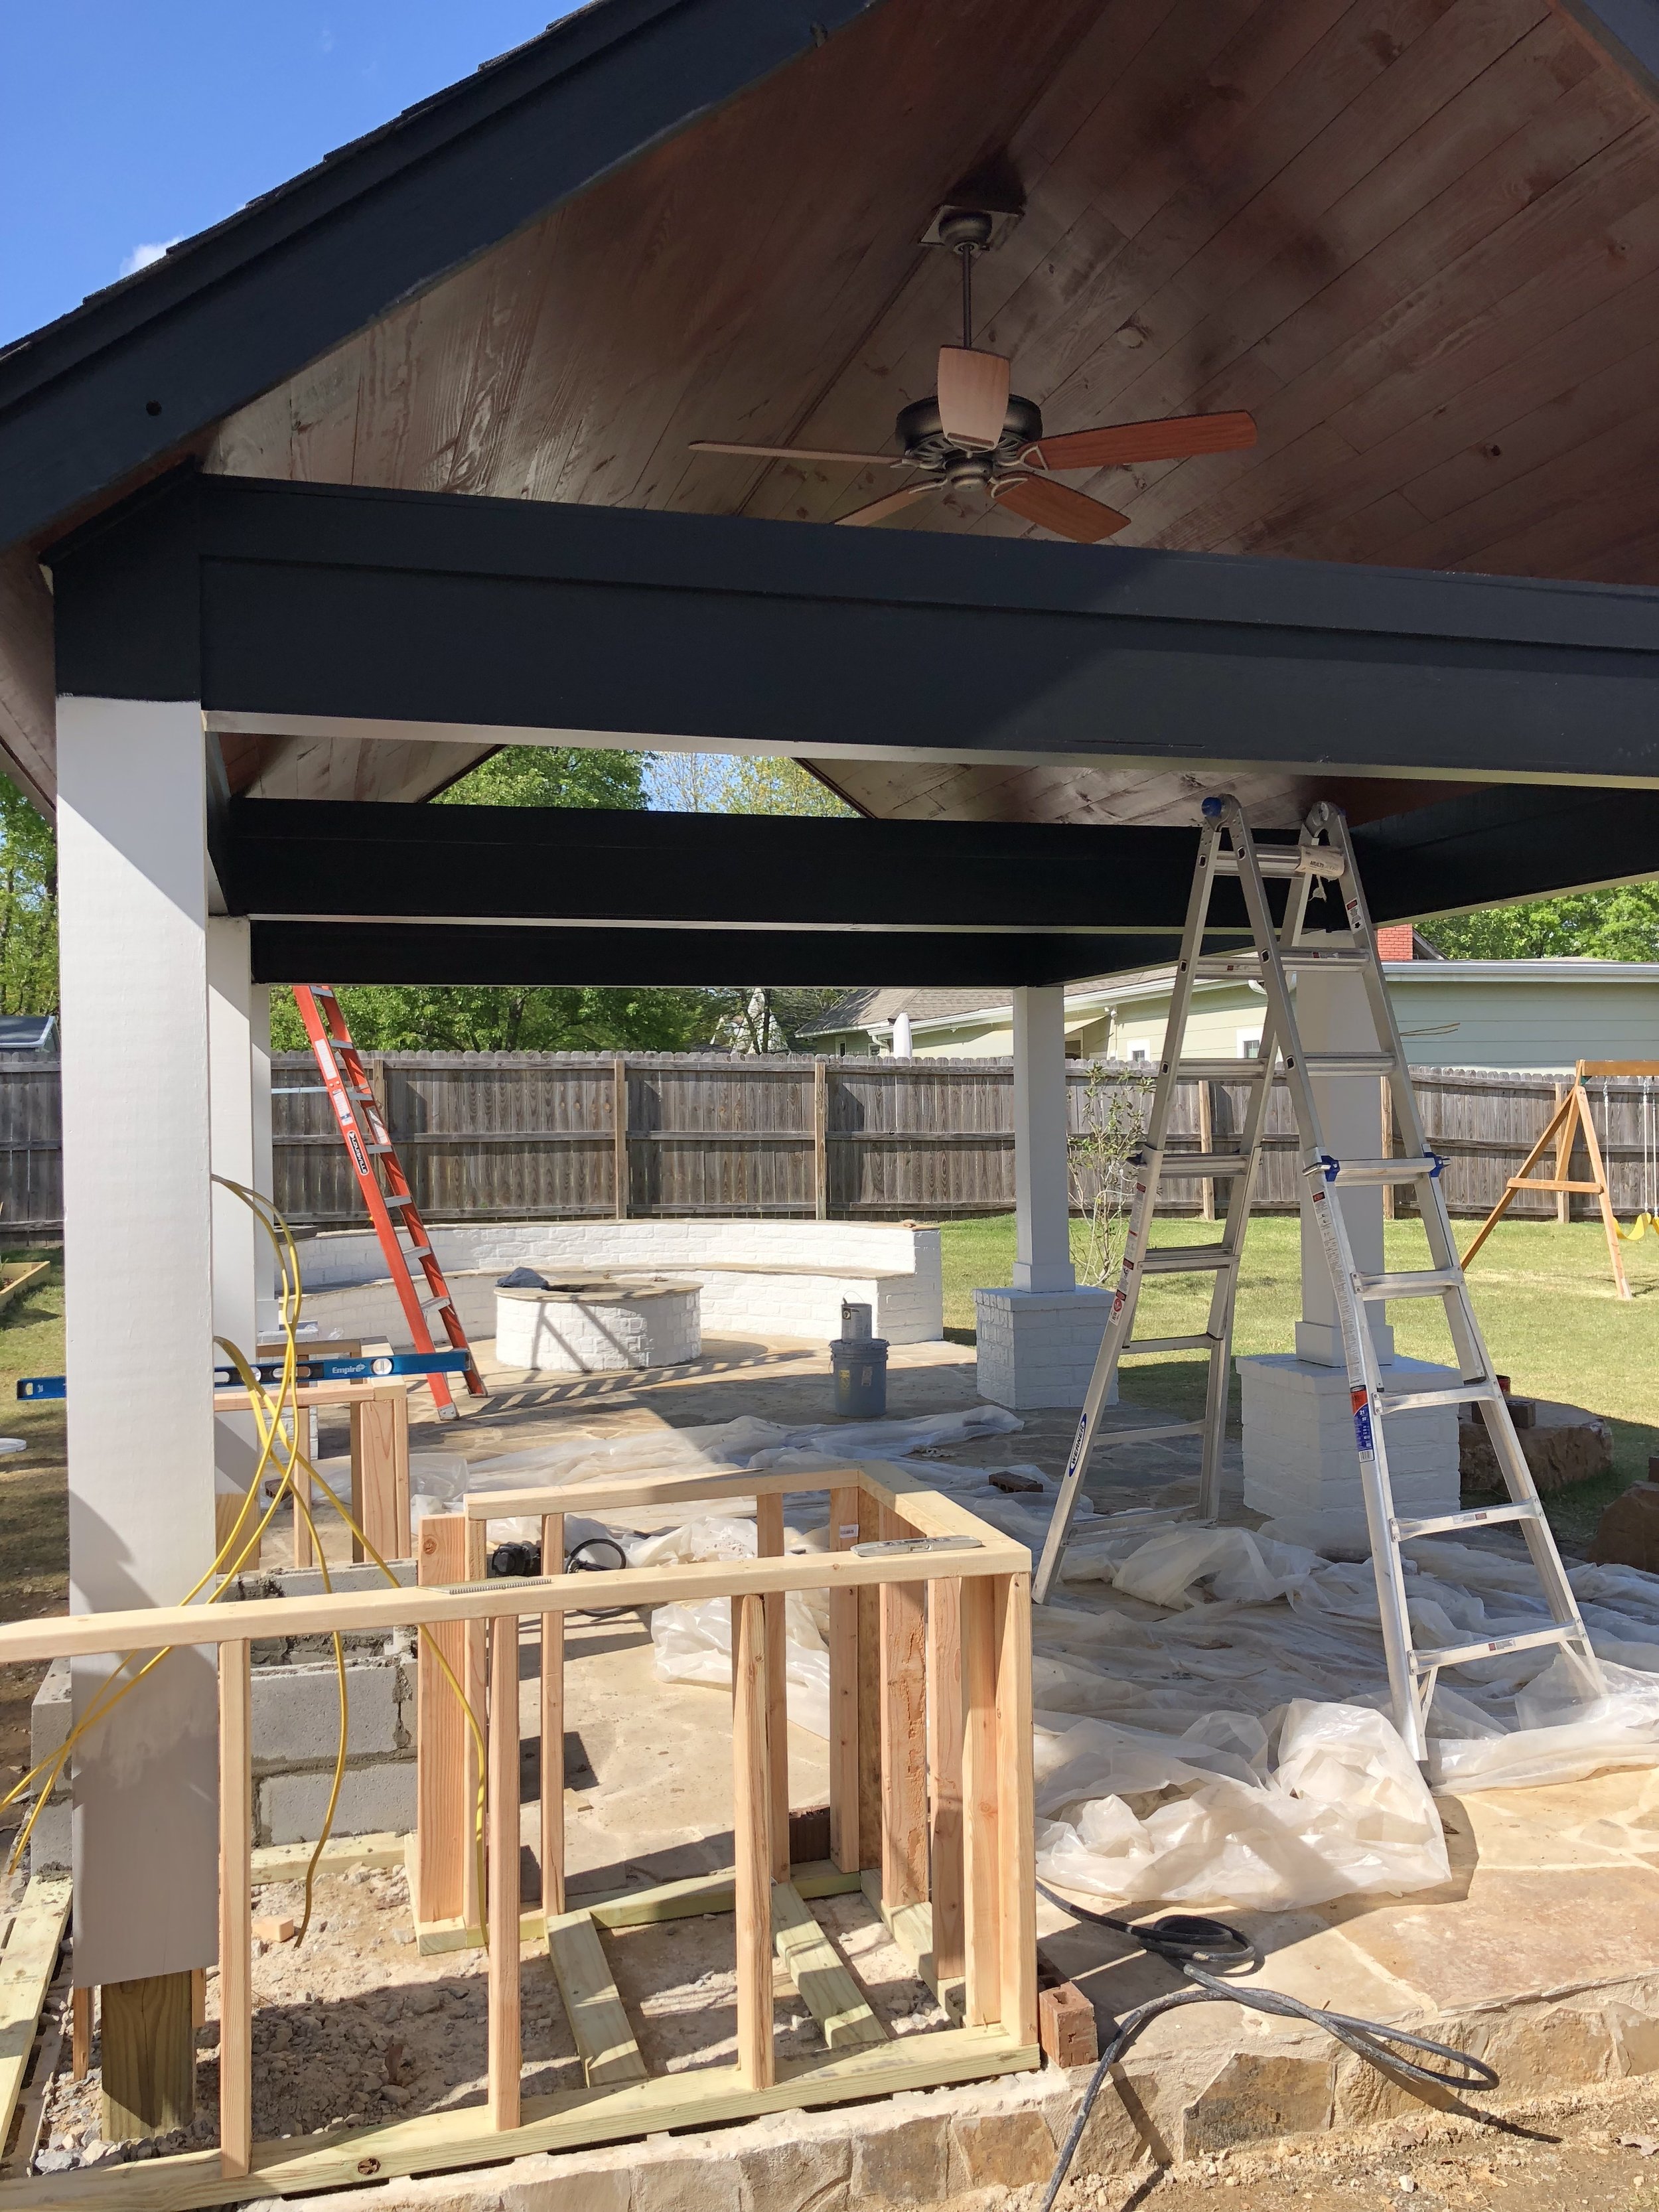
This portion of the project was probably the most exciting out of all aspects because we could finally start to see the design coming to fruition. Before painting could commence we needed to finish the trim accents for the post, beams and ceiling. We like to add as many custom touches to all of our projects and this one included the trim work. We cut all of the trim accents that you see in the pictures to fit. This meant a lot of saw dust flying around! Now that the wood work was complete we could now move to completing the electrical and finish the painting. As stated earlier we needed to choose colors and fixtures that matched the main house exactly. We color matched the paint and stain colors and chose light fixtures that matched the fixtures on the front of the house. The painting of the brick and wood was not an easy task! There was a lot of prep work involved to make sure we didn't paint the flagstone and the yard!


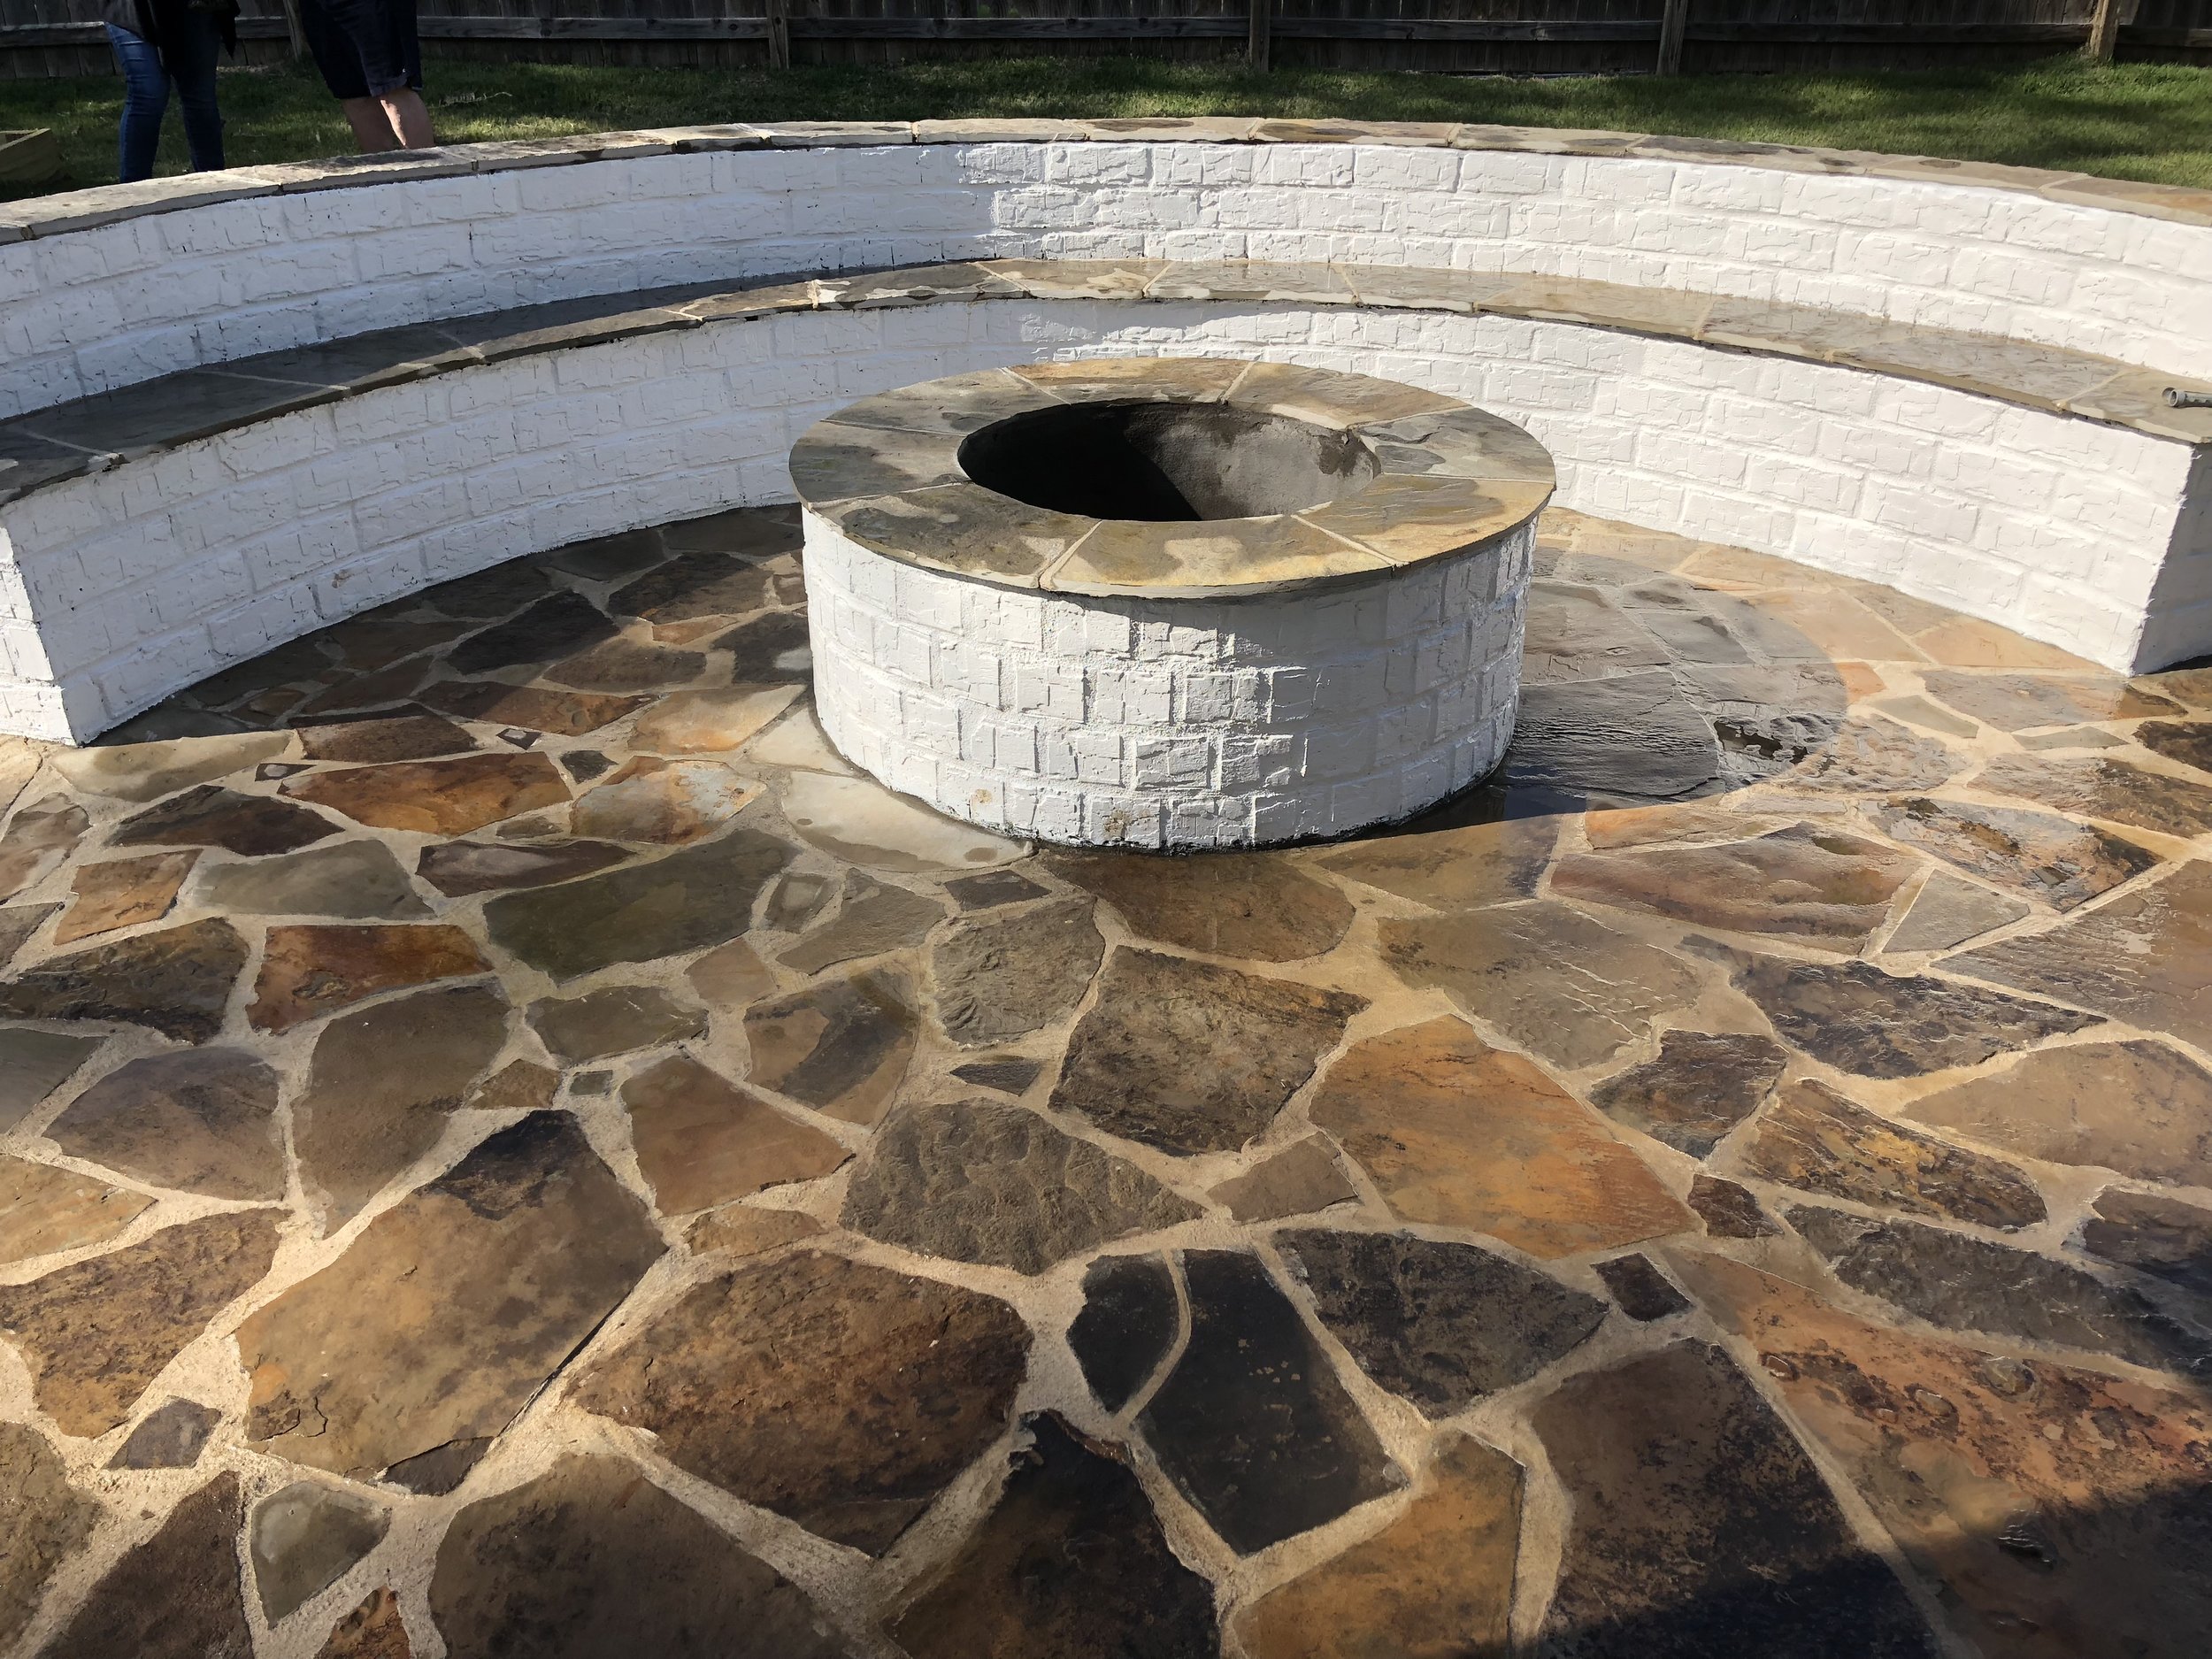
Finish Product!
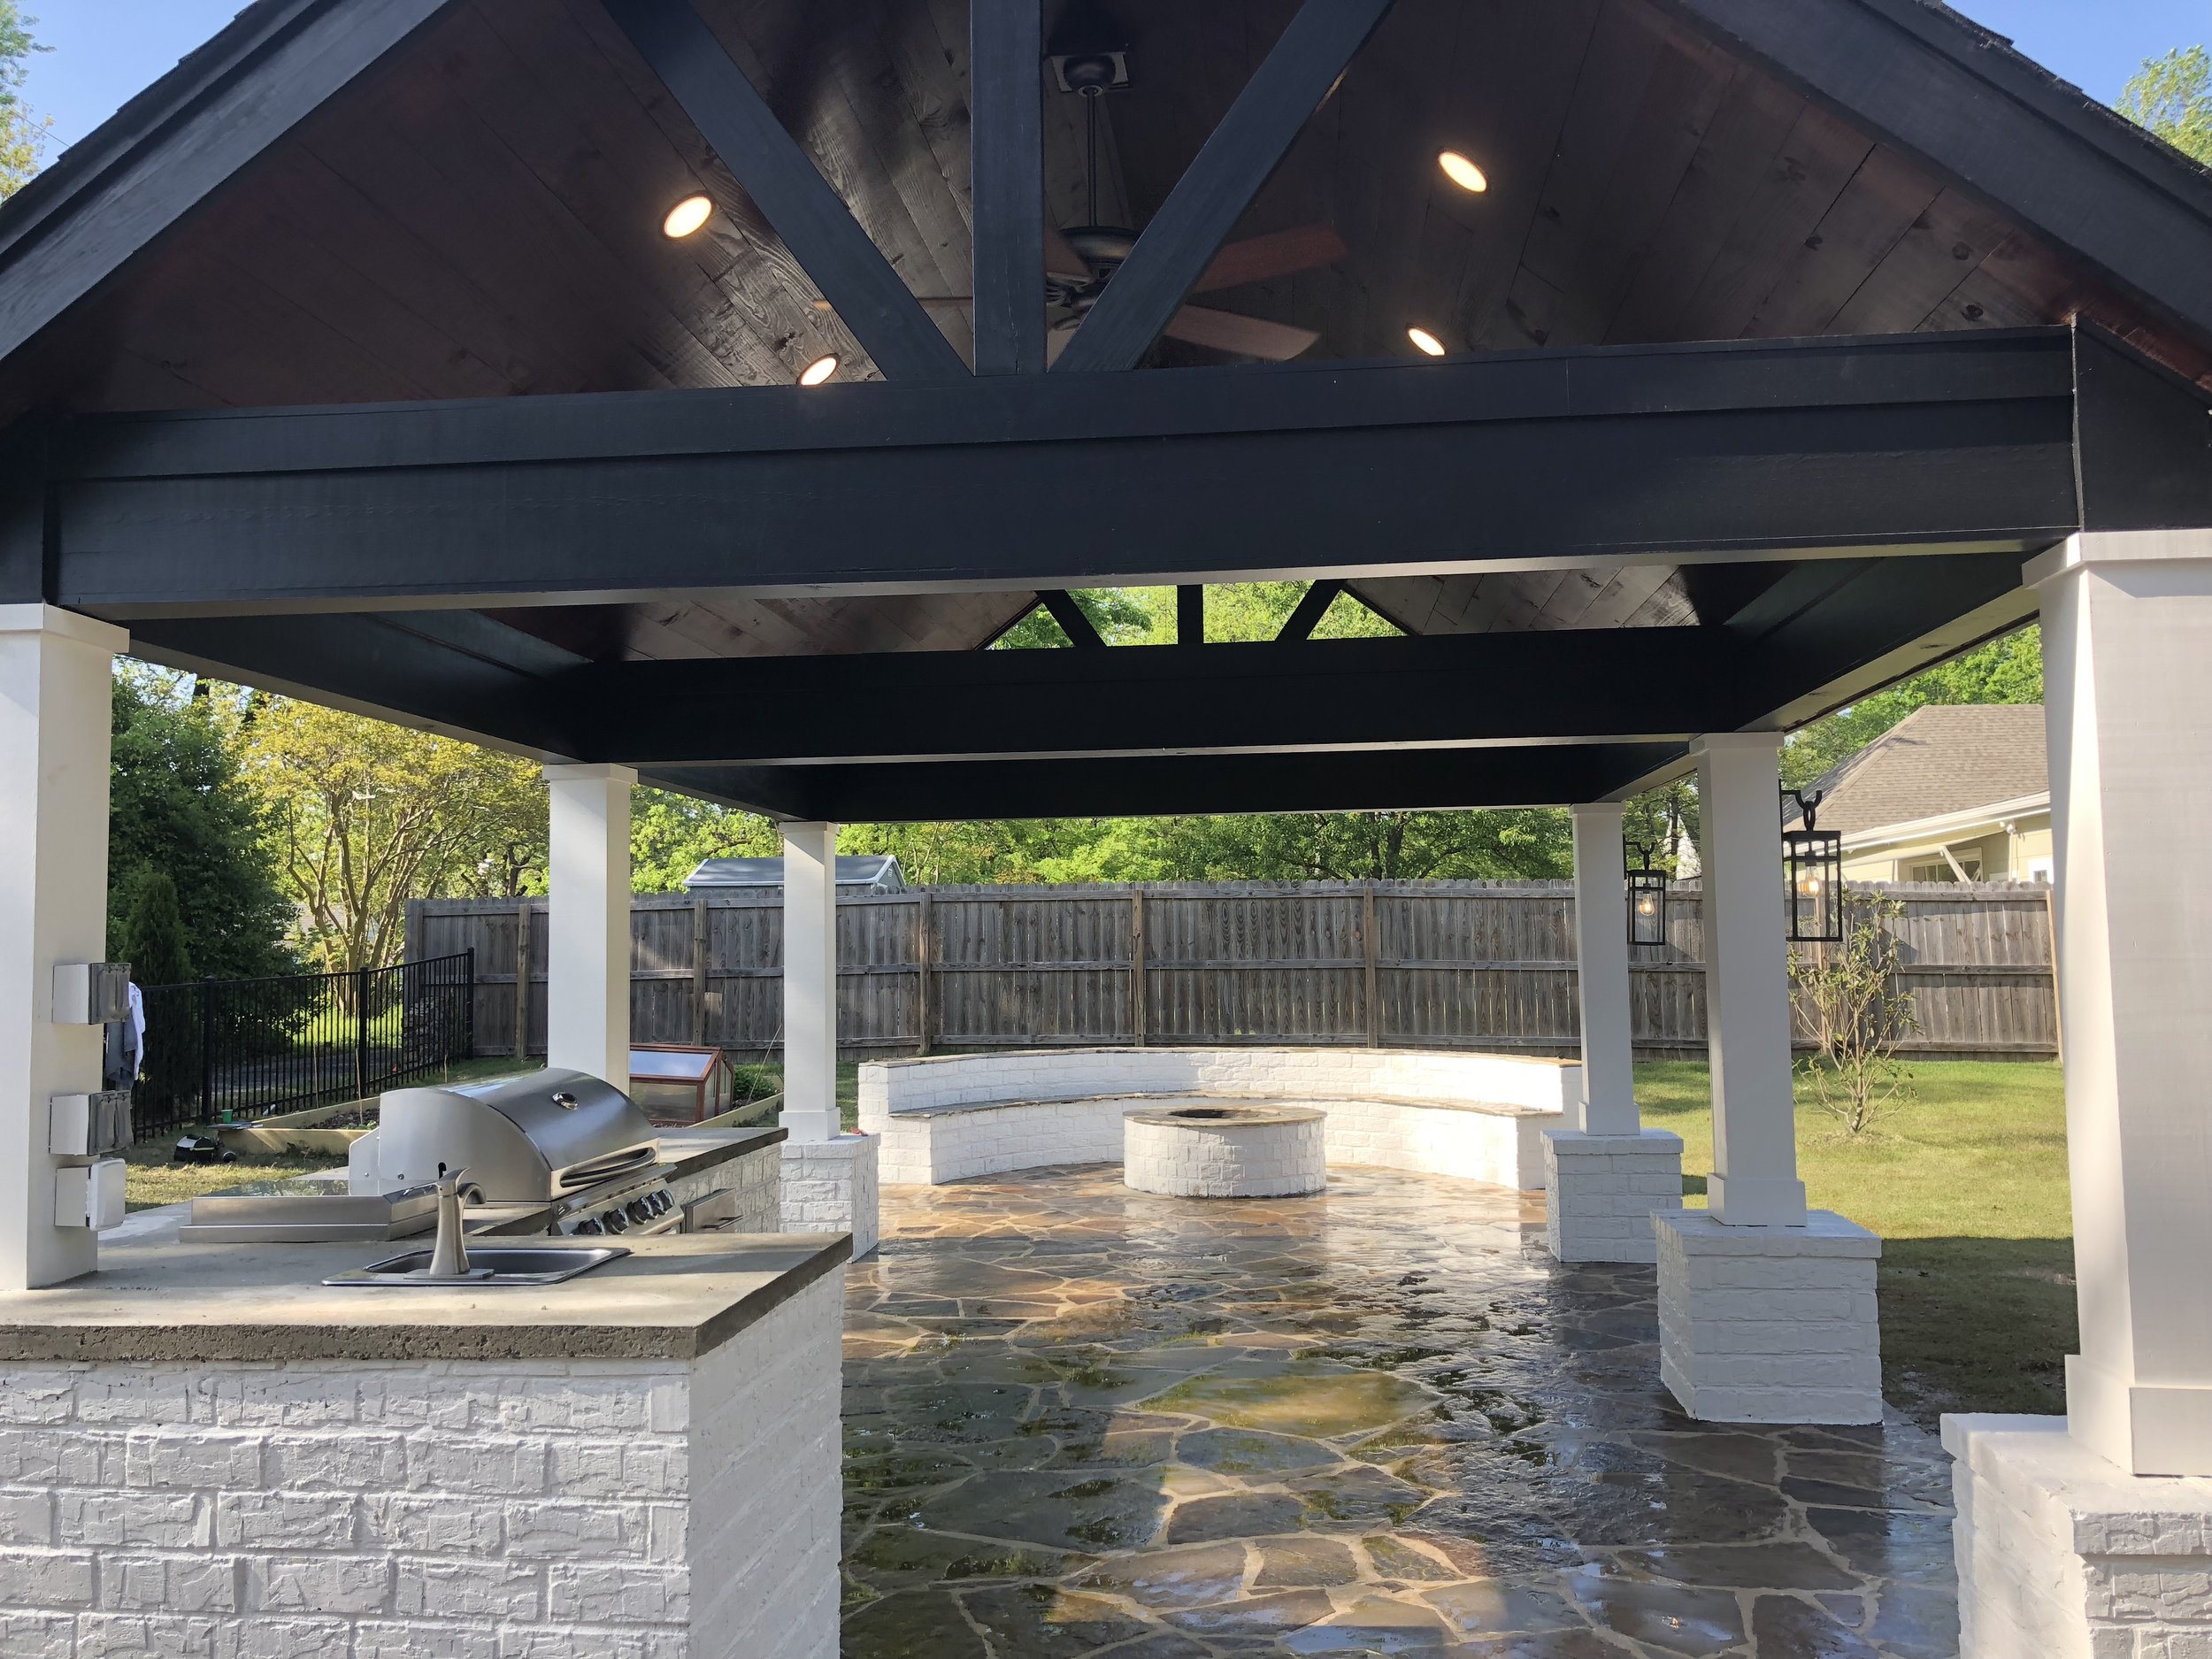
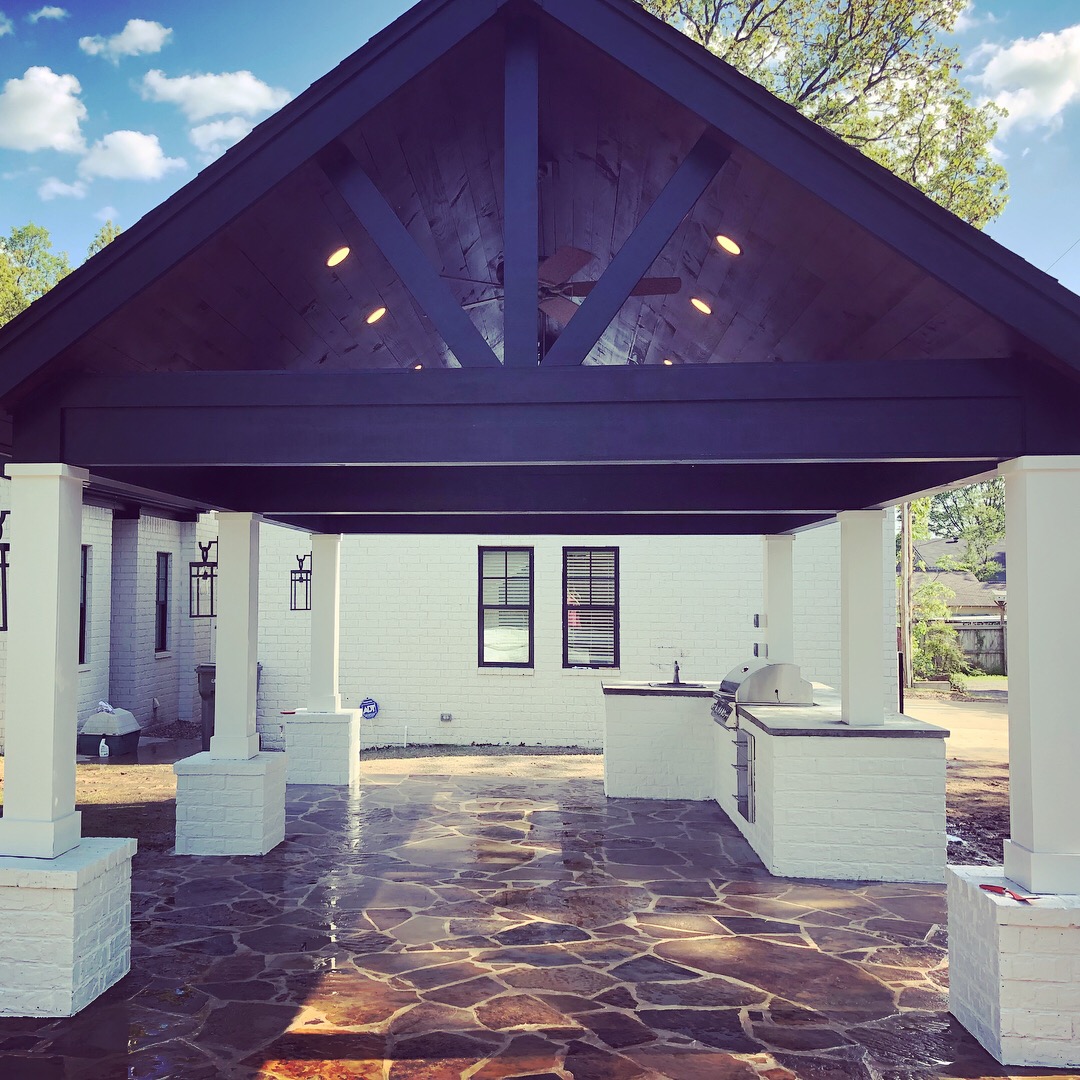
Finished! A lot of times customers have deadlines and events that they need these structures built for. In this case there was a very important birthday party coming up and we needed to make sure everything was PERFECT! We were very excited to see this one unfold and loved every minute of getting to know the homeowners and their family. As you can see in the pictures below this project turned out amazing!


If you are interested in hearing more about this job or any other one on our website please call and let us know, we would love to hear from you!
Enjoy the chronological photos of the job!